|
|
Maincabin Companionway Restoration (cont) |
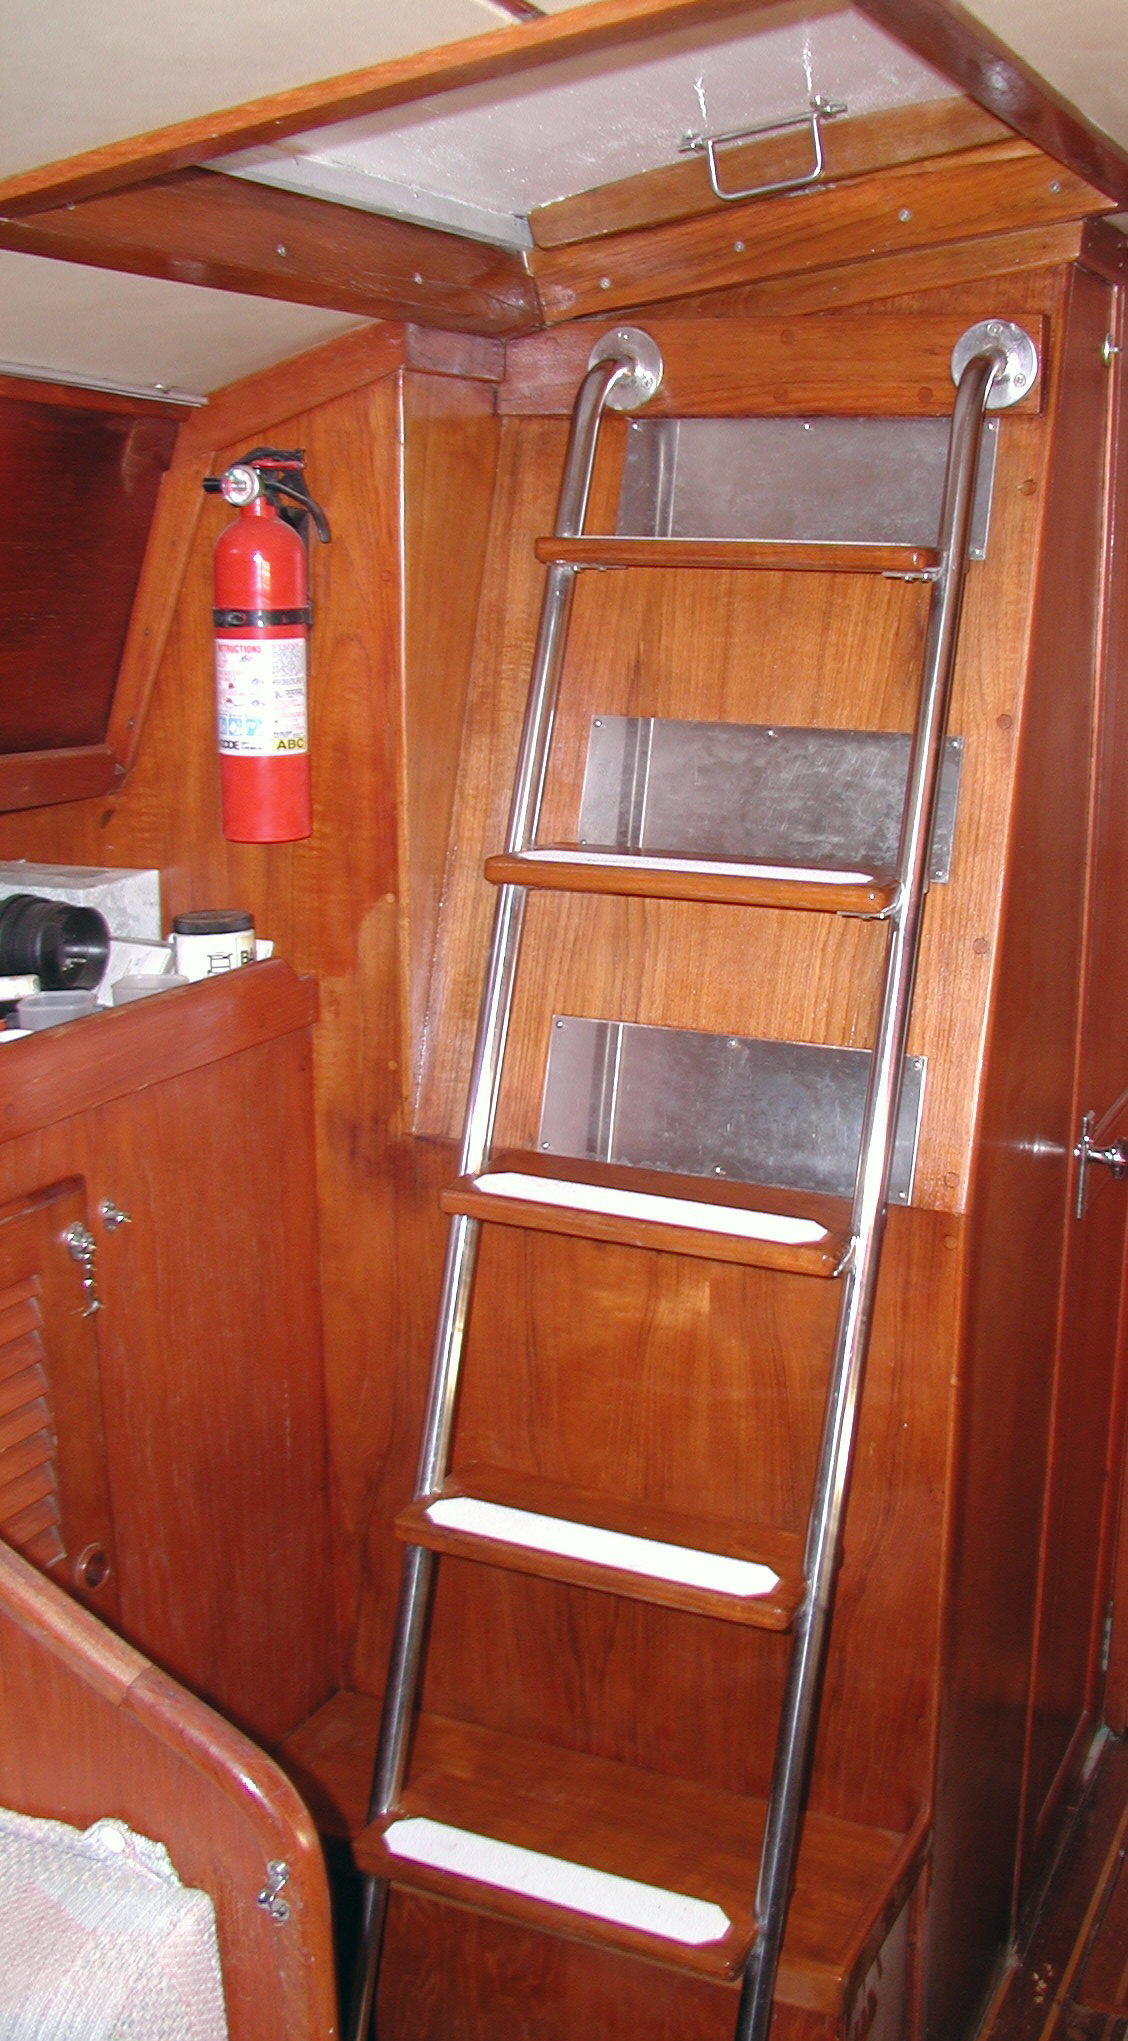
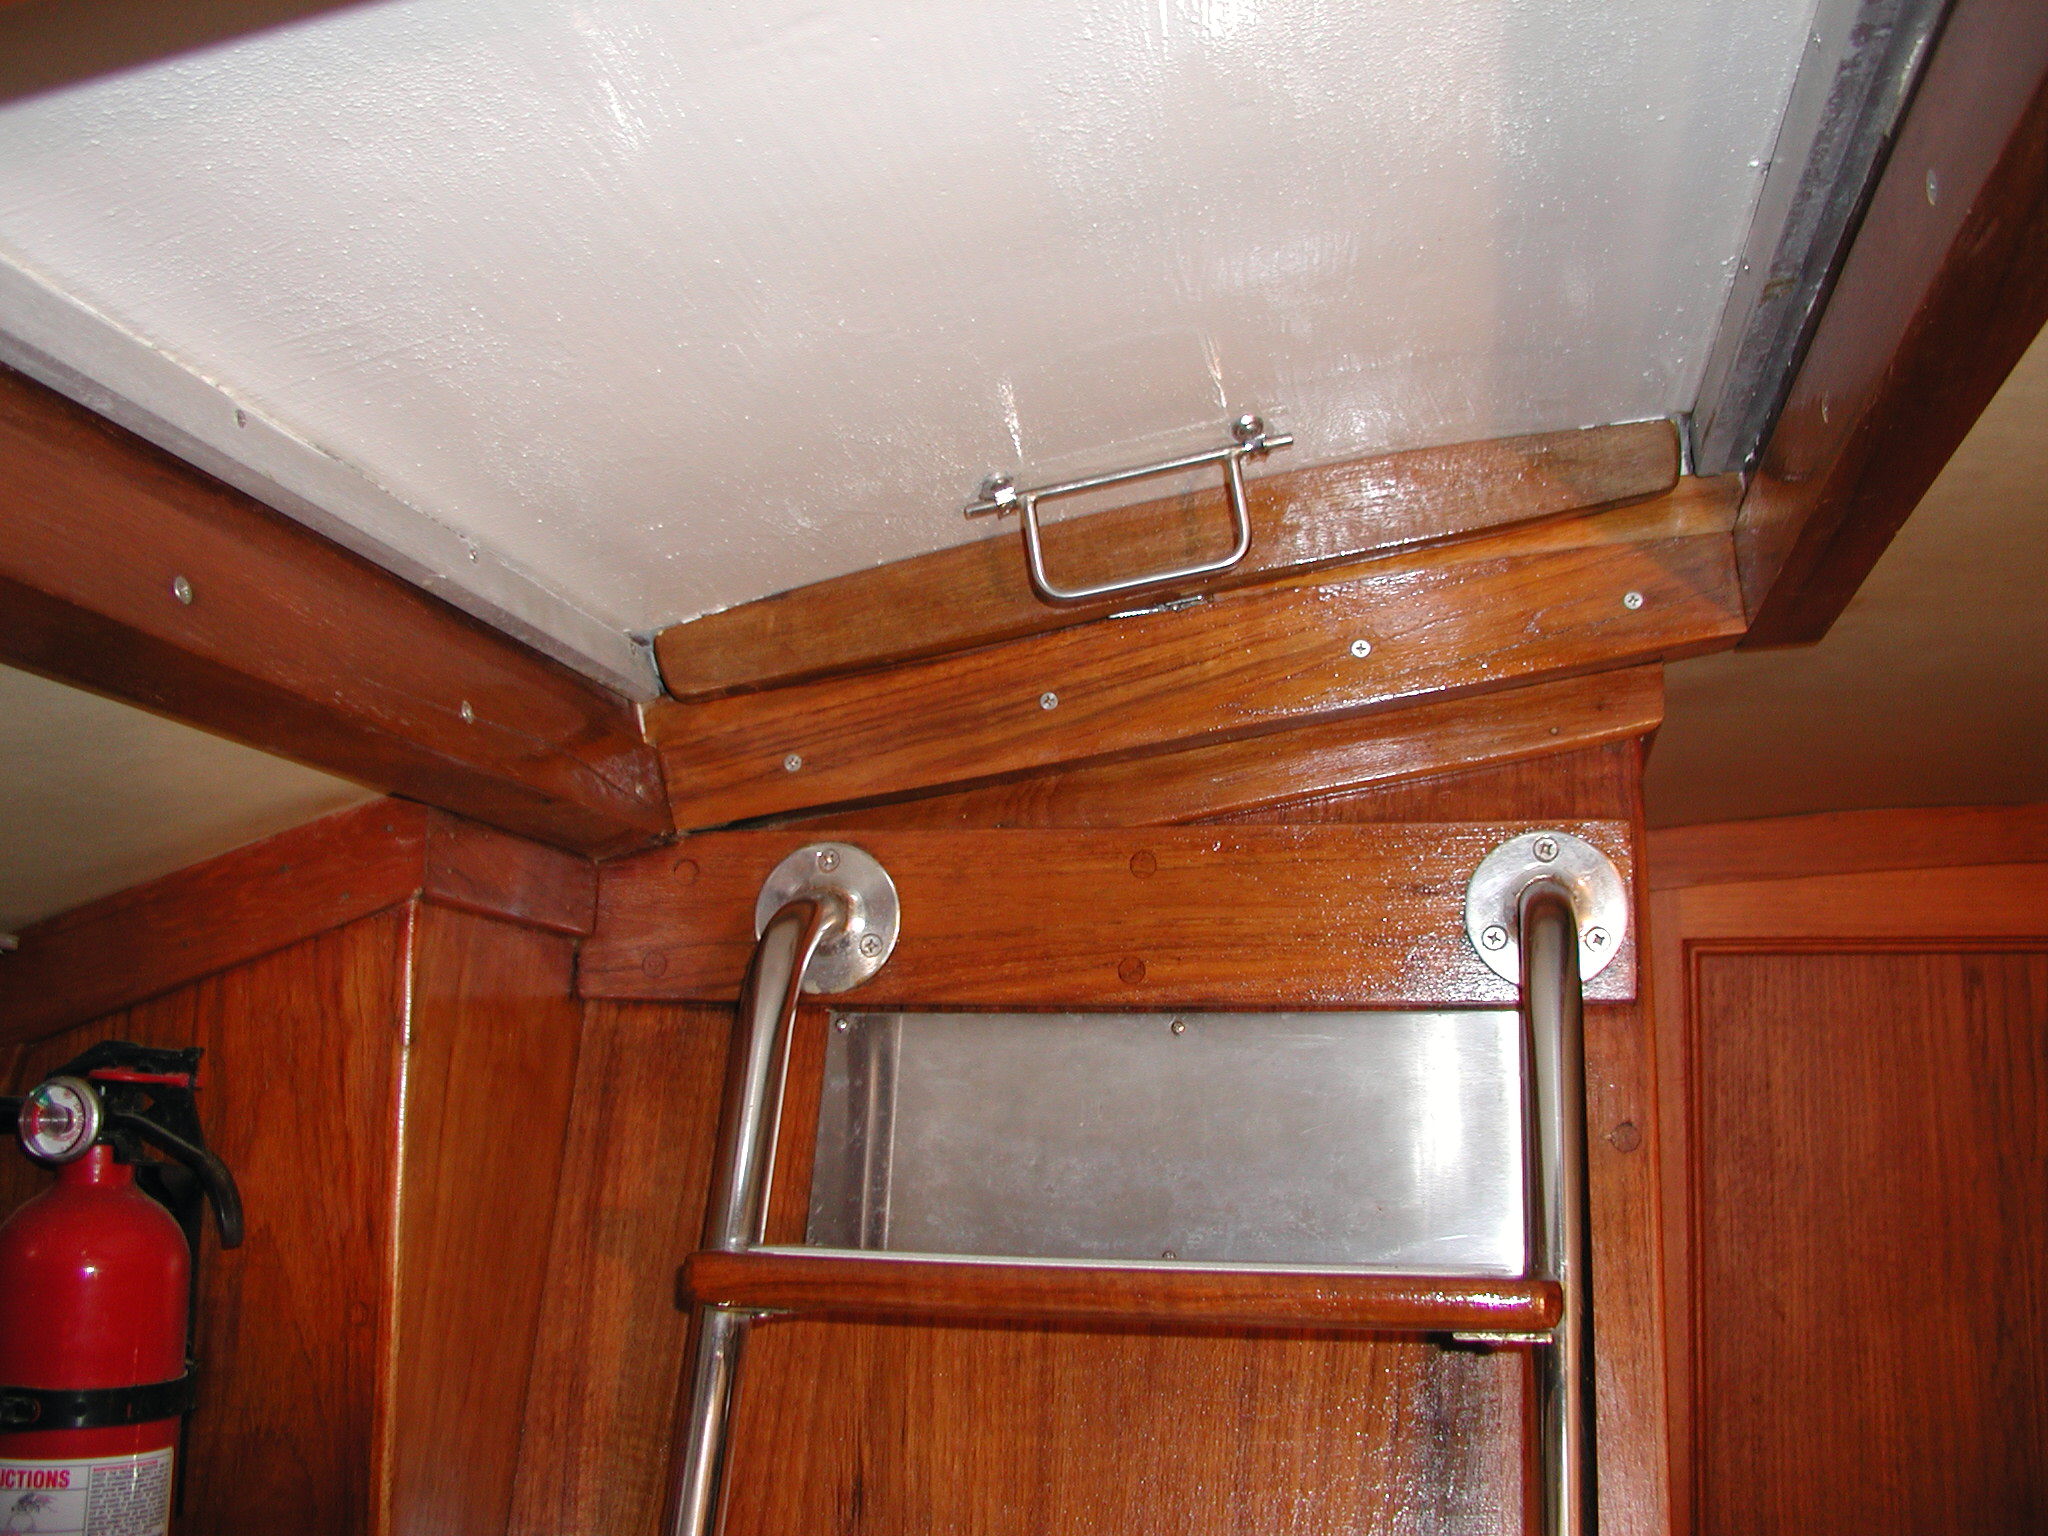
After the filler epoxy cured, I reassembled the deck frame and trim. Reassembly was straightforward. I liberally applied white 3M 101 polysulfide under the frame and teak color Boatlife polysulfide on the inside of the frame during reassembly. Since the woodwork was previously sealed with varnish, I was able to remove excess using a rag and denatured alcohol. I replaced many of the fasteners with new either because the old fasteners had their heads stripped or they were slotted rather than Philips-head. I expect to be taking all this apart every few years to renew the caulking compound and want to make this as easy to disassemble. I set the visible bungs with varnish to hold them in place, but those under the hatch slides were just tapped in place. I've found that the screw heads frequently get clogged with varnish during assembly if care is not taken. Pearson was not careful. This made it very difficult to disassemble. Since most of the new plugs are not set with anything, the heads should now remain clear. I used a light film of caulking compound under the stainless screw heads when screwing the aluminum slide into place. This should prevent electrolytic corrosion. It took about 12 hours to repair the deck and reassemble the hatch. The woodwork behind the companionway ladder was water stained. I used a non-toxic chemical stripper and a scraper to take the finish off. Since I would be working below while the boat was covered, I didn't want to be inhaling harsh chemicals. The product worked well, but isn't as aggressive as the methylene chloride based paint removers I normally use. The wood underneath was still in good shape, but had some dark stains. I cleaned the finish with a 2-part teak cleaner and gave it a light sanding. After letting it dry thoroughly, I finished with a light coat of Cetol followed by a couple of coats of Epiphanes matt-finish varnish. It took about 14 hours to refinish the companionway woodwork. Click on the photo below for a larger image. |