|
|
Water Heater Project |
I replaced the stock Raritan 6gal water heater with a Force-10 11gal water heater. For anyone interested in upgrading their water heater, I've posted some photos of the installation. This was a very tight fit. Every 424 is different. If you chose to make this switch, I suggest taking careful measurements. (click on photos for an enlargement) |
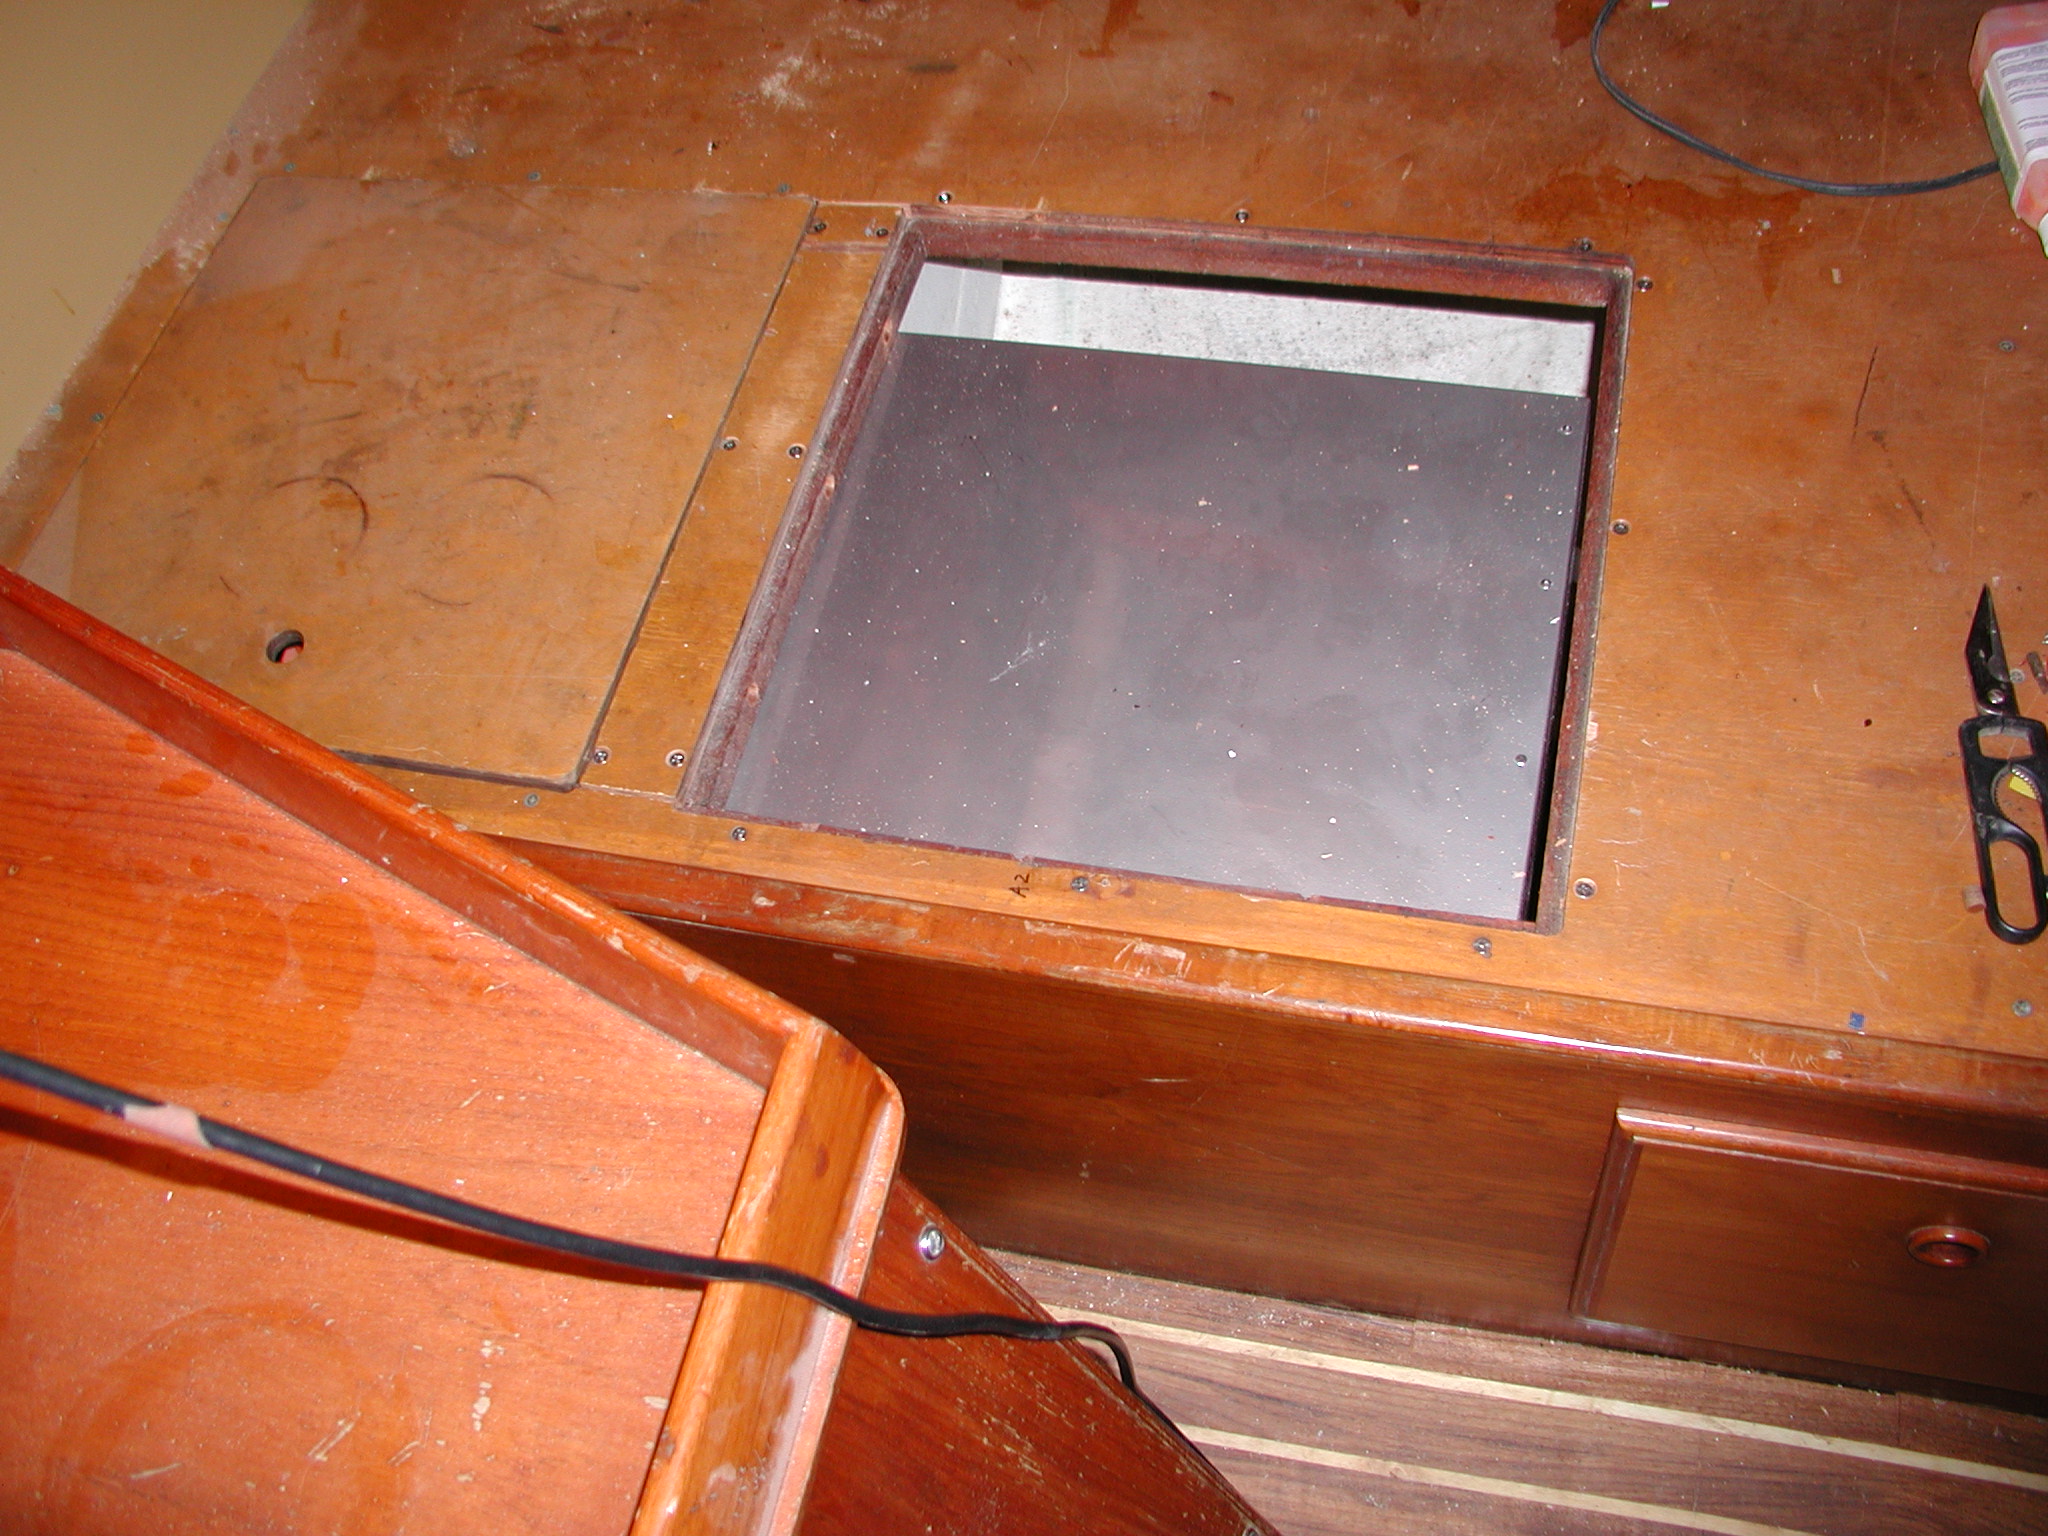
The new water heater is mounted in the same locker as the old heater. Here's a photo that shows the installation. The photo also shows that the wood finish on the cabinetry needs attention. (yet another project). The cabin sole has been replaced already. |
Here's a photo of the locker before the water heater was installed. I mounted the water heater so that the connections would face aft. This required that I cut a large hole in the bulkhead that separates the compartments. I had to remove the small wood ledge that the lid sits on to enlarge the access hole. I also had to cut the small wood top piece between the two locker lids. The aluminum plate shown on the bottom of the photo is positioned to secure the heater inboard mounting flange. The screws are not accessible when the heater is installed. The water heater mounting flange slides under the aluminum plate. The opposite mounting plate is accessible and has three screws installed to secure it. |
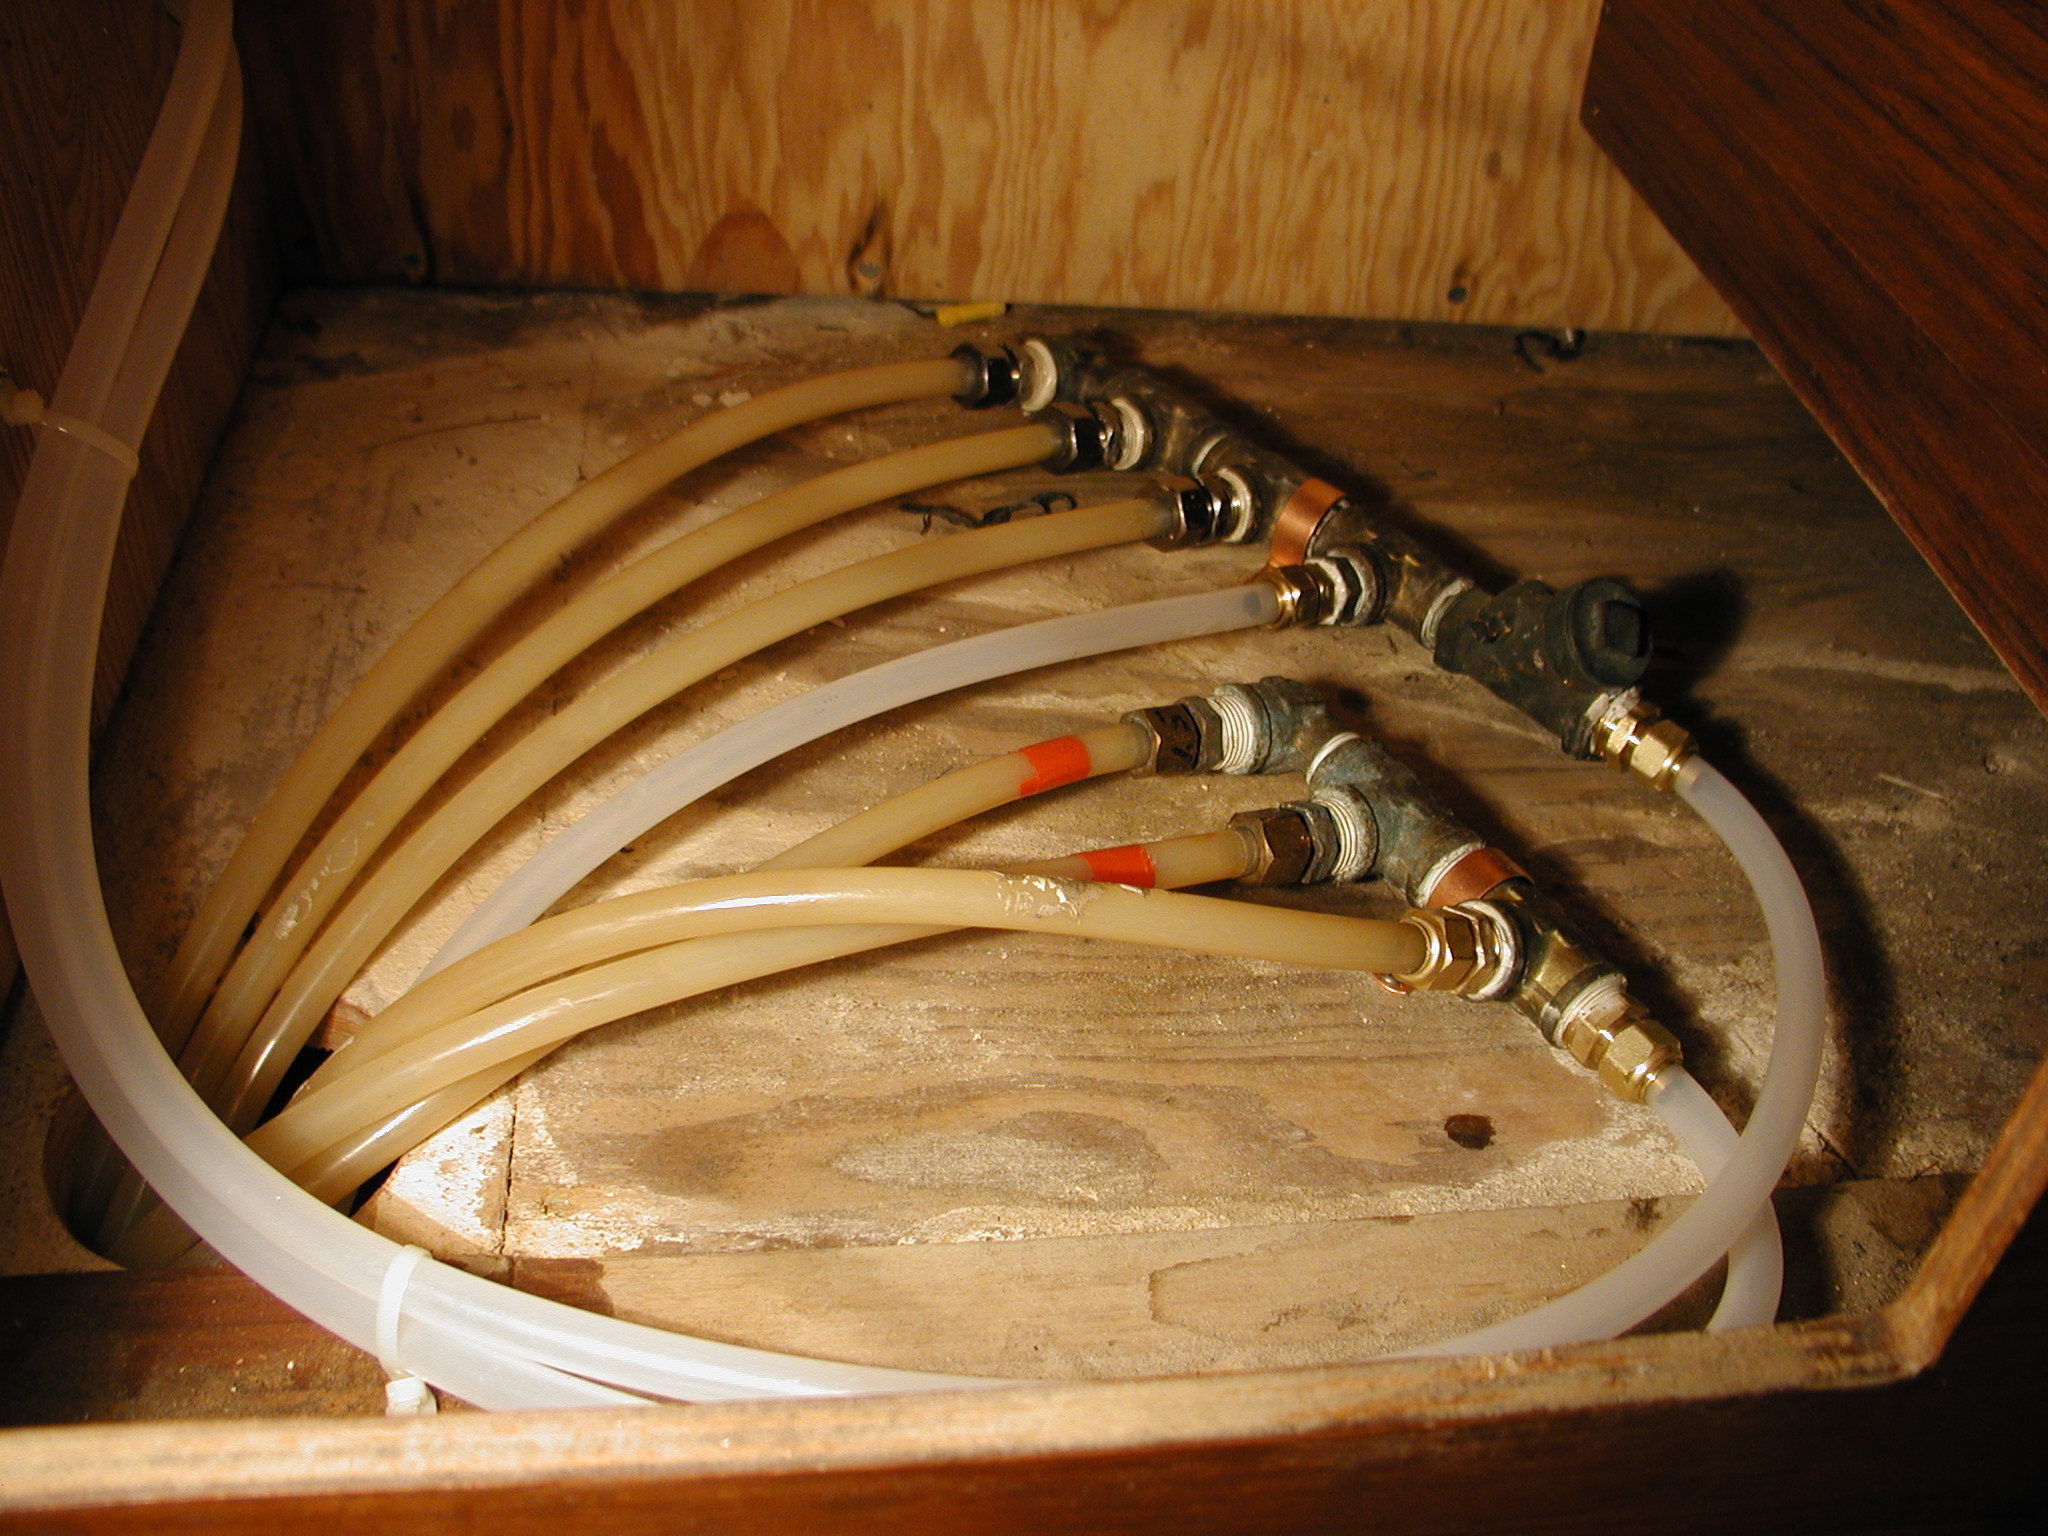
The existing hoses were too short to connect directly to the water heater with the connections facing aft. I had to relocate the water manifold to the compartment just forward of the water heater underneath the aft drawer. I then connected the manifolds to the heater using a short run of tubing. |
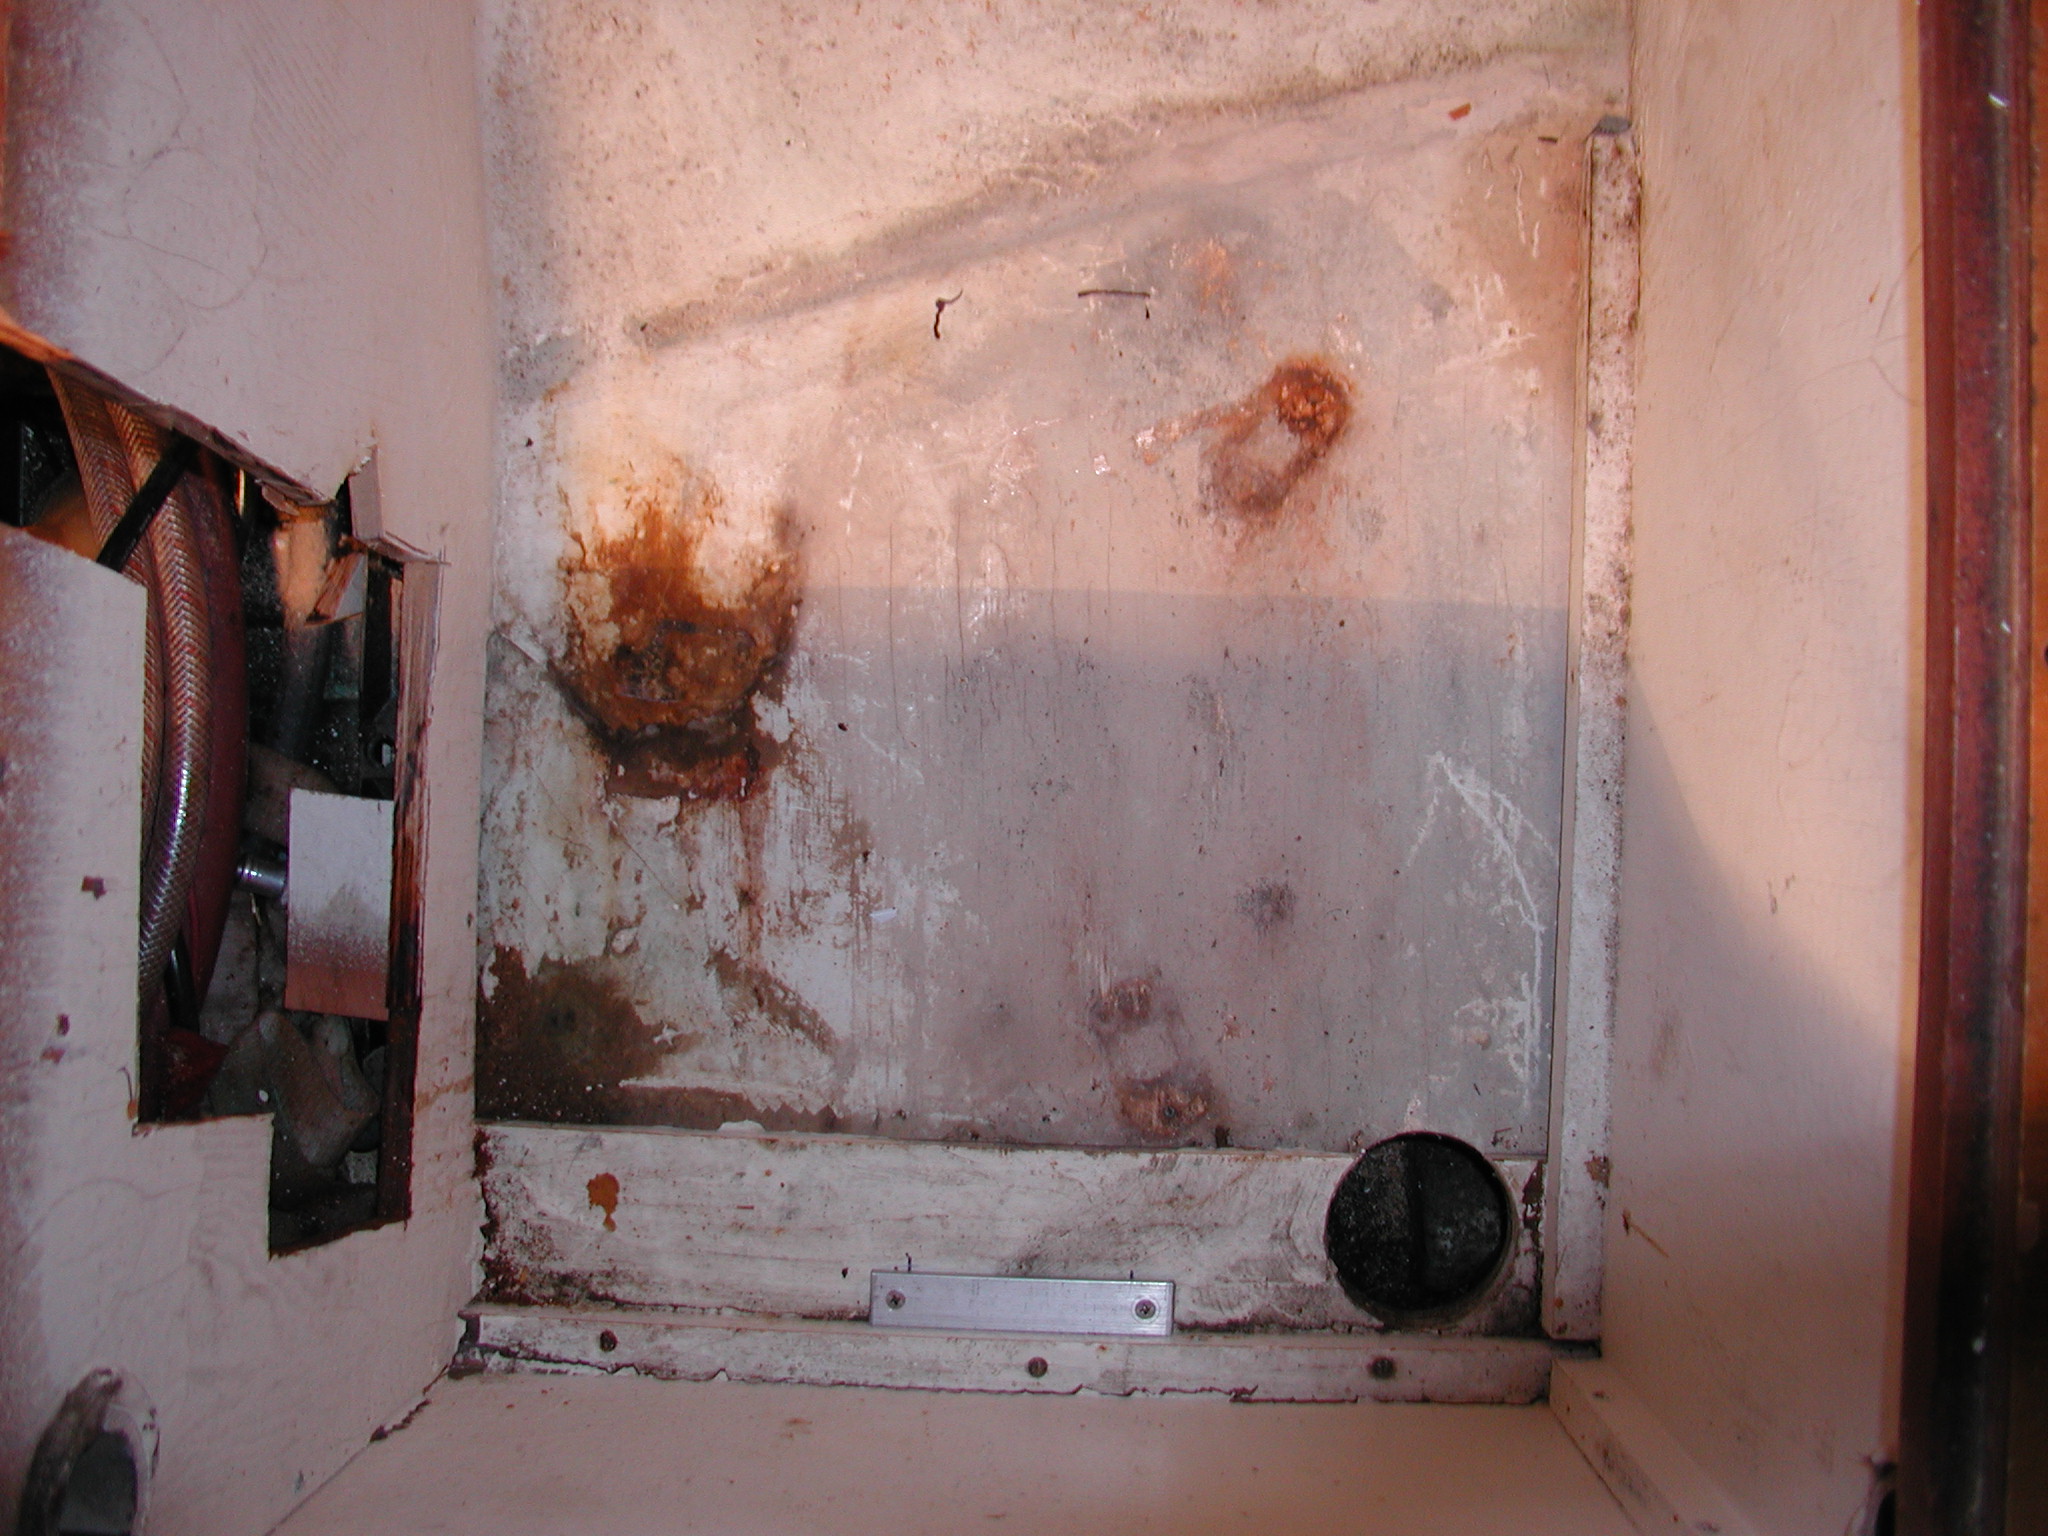
This photo shows the hose connections. It was taken of the aft compartment facing forward. I removed the over pressure safety valve before installing the heater. This made the water heater shorter. I was unable to remove the drain valve which is very difficult to see beneath the left heater hose. It is plastic and wouldn't budge. Since I was afraid I might break it off, I cut the bulkhead above this fitting so I could slide the unit into place. I then replaced the cut piece and secured it with six screws and a wooden block. |
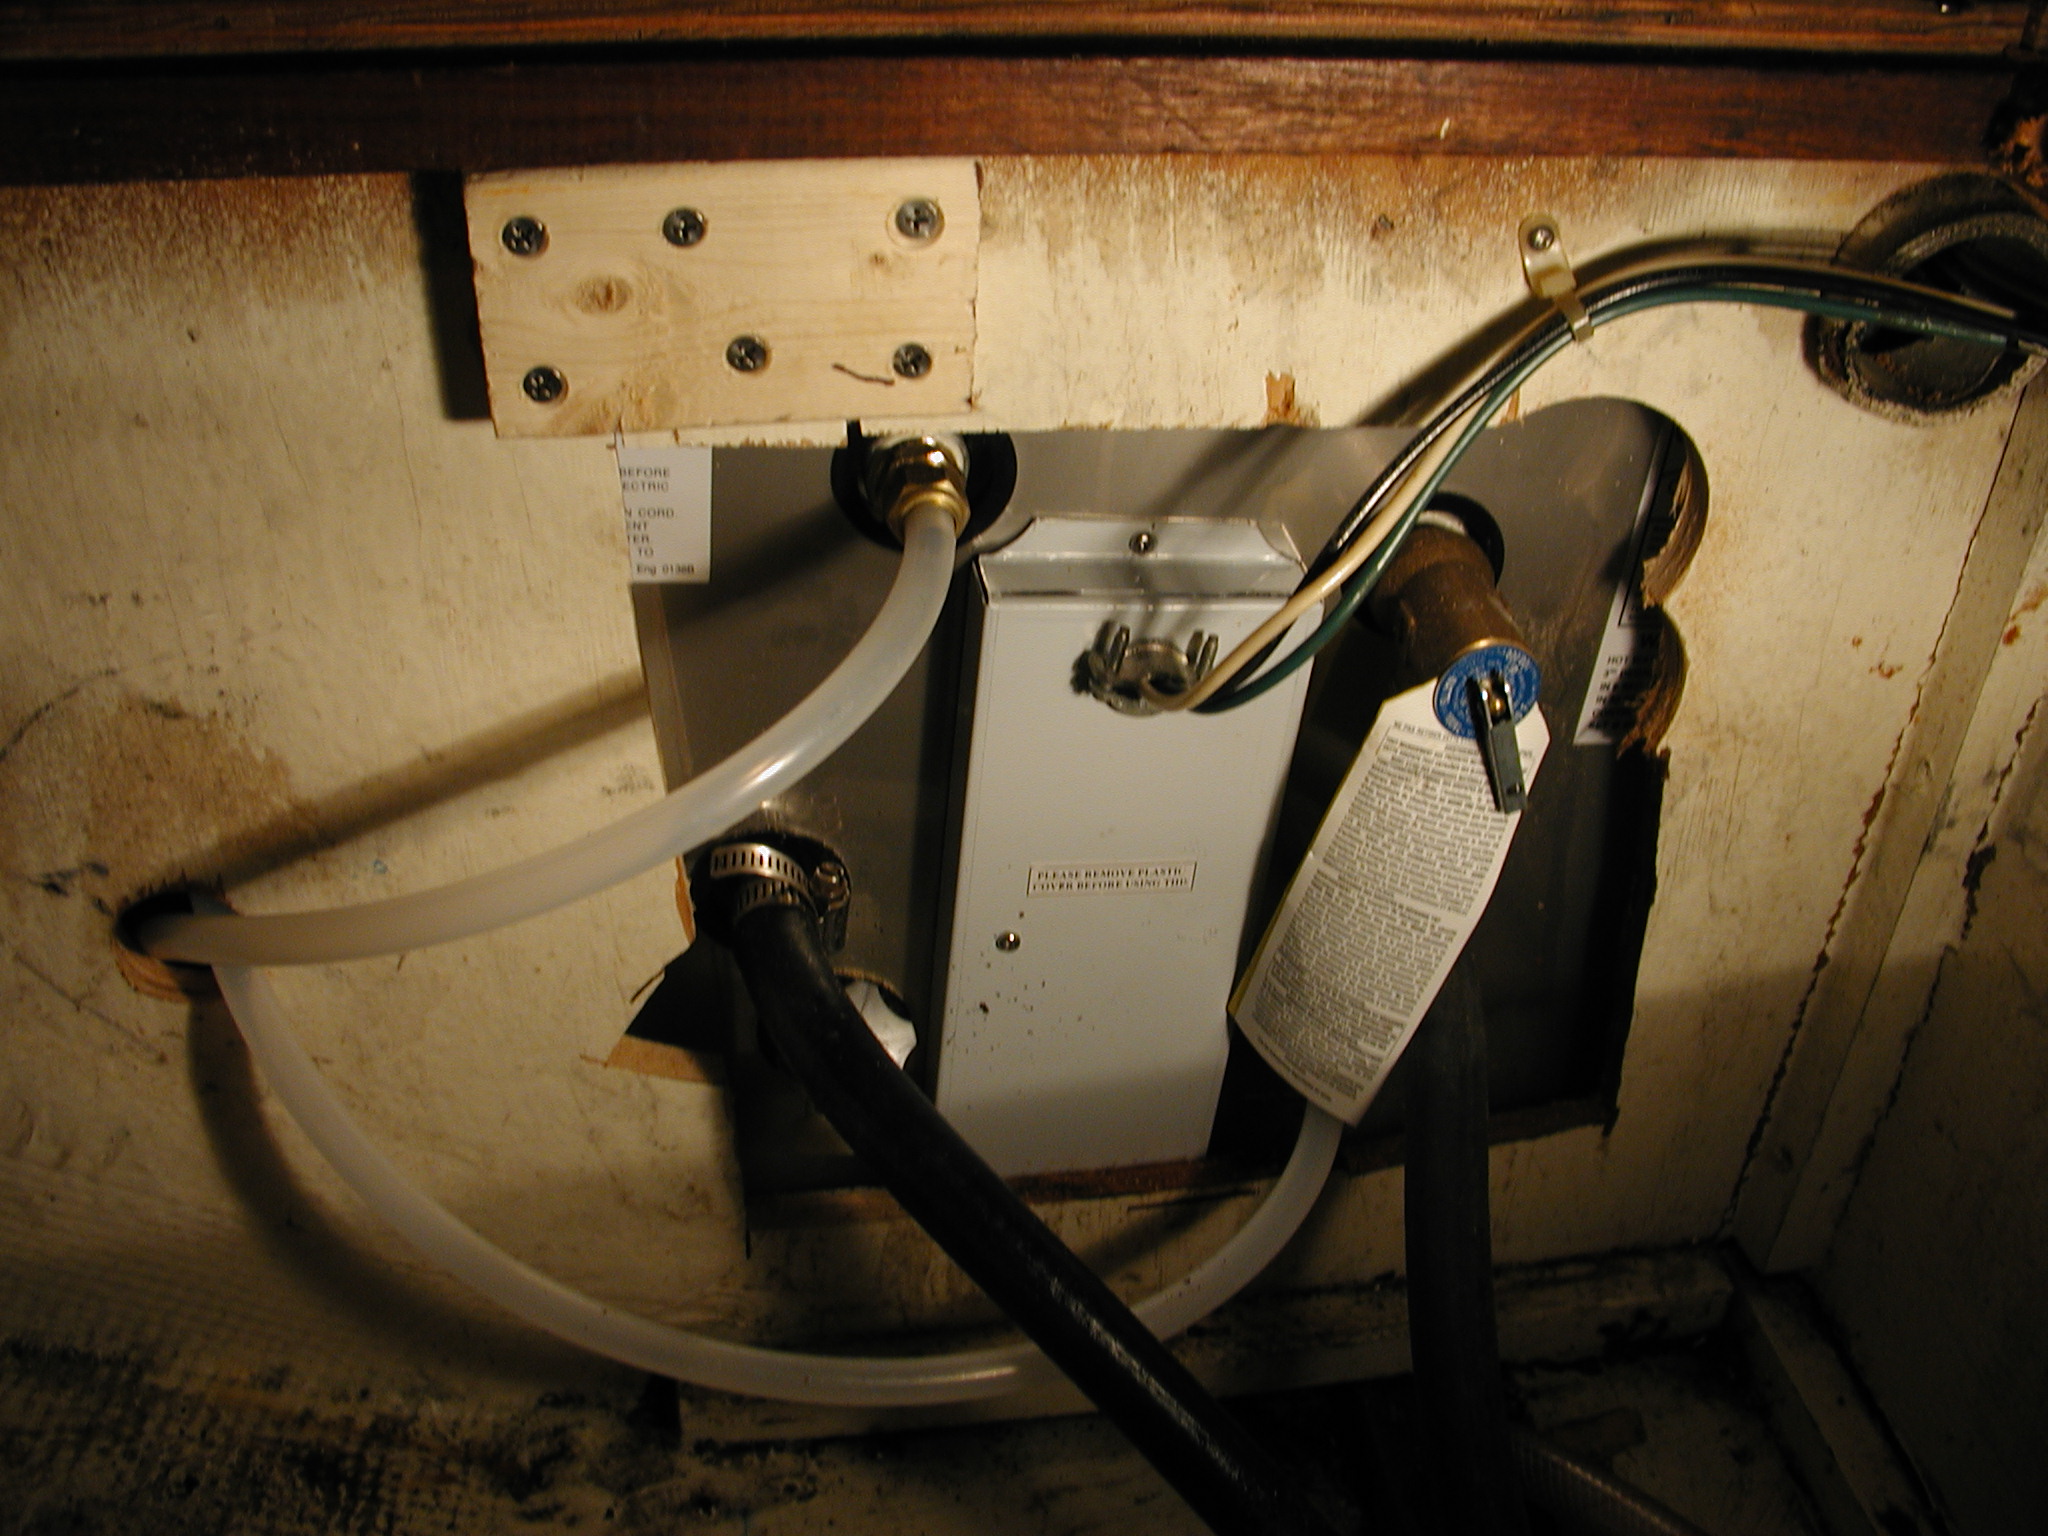
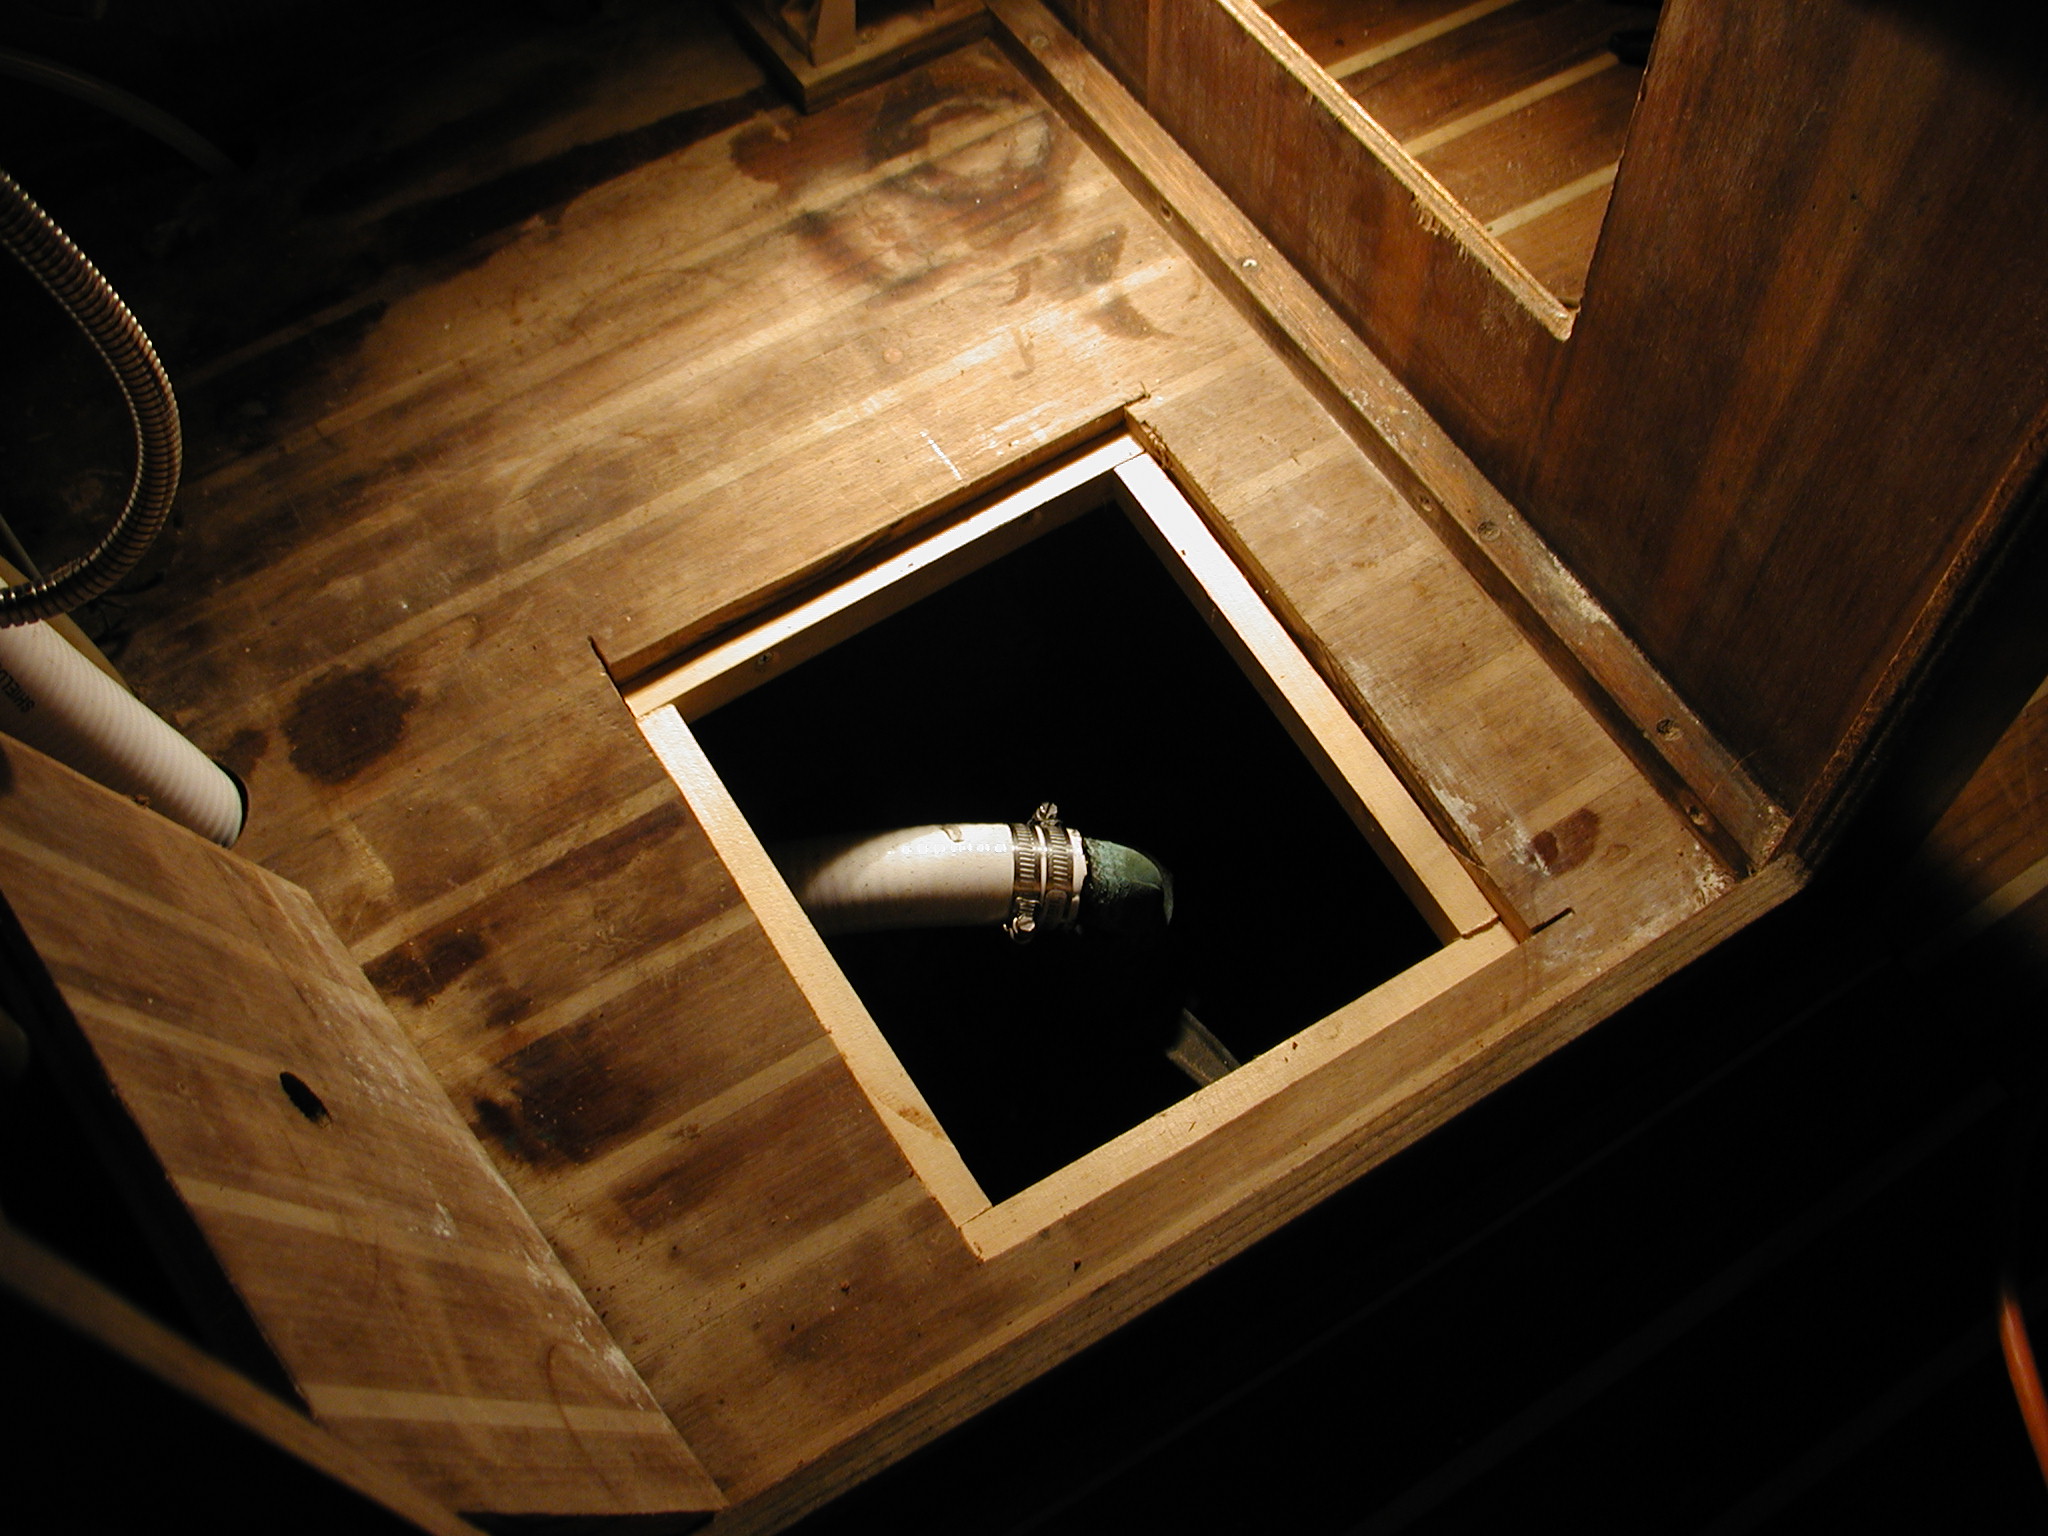
I replaced the water hose from the pressure pump to the water heater with tubing. I never trusted the plastic hose. Access to the hoses under the sink sole was almost impossible. Since I wanted to replace the sink drain hose anyway, I cut an access hatch in the cabin sole under the sink. This provides access to the thru-hull that was previously inaccessible. This is one of two remaining original hoses that are scheduled for replacement. This hose appeared in good condition and was very difficult to replace so I put it off until last. After I removed the hose I discovered that the very end of the hose where it connects to the through-hull was rotted. If you still have original hoses, I strongly suggest replacing them. |
After having installed the new water heater and having an opportunity to evaluate the new unit for a season, I'm satisfied with the switch. Although it takes a little longer to make hot water, the extra capacity makes a big difference in the way we use water. We now have enough hot water for a shower and to clean dirty dishes. Water stays hot a lot longer too. The heater must be better insulated than the old unit. |