|
|

Maincabin Companionway Restoration |
The main cabin deck hatch in my 424 has always leaked. Several years ago, I added gasket material to the deck hatch sides in an attempt to stop the leak. The gasket reduced the leak considerably. I still had an occasional drip in hard rain. The leak had damaged the wood finish to the teak trim and bulkhead below the hatch. My winter project that year was to restore the interior finish. I figured it best to stop the leak before wasting my time refinishing the wood below. I'd been suspicious of deck rot around the hatch for many years. There were no obvious signs of problems around the hatch. There was some crazing in the gelcoat in the two aft corners, but the deck was firm. The hatch appeared to be very difficult to remove, so I'd never taken the opportunity to inspect the deck core. I removed one piece of interior trim under the aft side of the hatch opening. This exposed the deck core. A quick examination revealed deck rot in both corners. The rot appeared to be localized, but I couldn't examine the whole deck area without removing the entire hatch. This would likely leave the hatch open for several days while work was being done, so I decided to wait until after the boat was covered. After winterizing and covering the boat, I finally had a chance to remove the hatch. Removing the hatch ended up being more difficult than I anticipated. Pearson used silicon sealant to bed the hatch trim. This glued the screws in place. A screw-gun with appropriate sized bits can remove the fasteners, but it takes patience and some skill to avoid stripping the screw heads. I doubt that any of them could have been disassembled without a good screw-gun and correctly sized bits. Several of the exposed screws around the inside of the deck hatch were brass. These screw heads were too soft for the screw-gun to get a good bite. I ended up drilling out several of these. The aluminum hatch track around the stainless screws had corroded. This made it difficult to remove the screws, two of which had to be drilled out. Screws that hold the hatch frame to the deck were countersunk and bunged; even those under the hatch track. The plugs were set with something to hold them in place, probably varnish. This left the screw heads full of varnish, making them difficult to remove. These screw heads had to be painstakingly cleaned before the screwdriver bit could get a firm grip. Half of them had their heads damaged during removal. After the fasteners were removed, the teak trim was still held in place with silicone adhesive. It was difficult to remove this trim without breaking anything. I cracked a couple of pieces. It took about 6 hours to remove the hatch and associated trim. Click on the photo below for a larger image. |
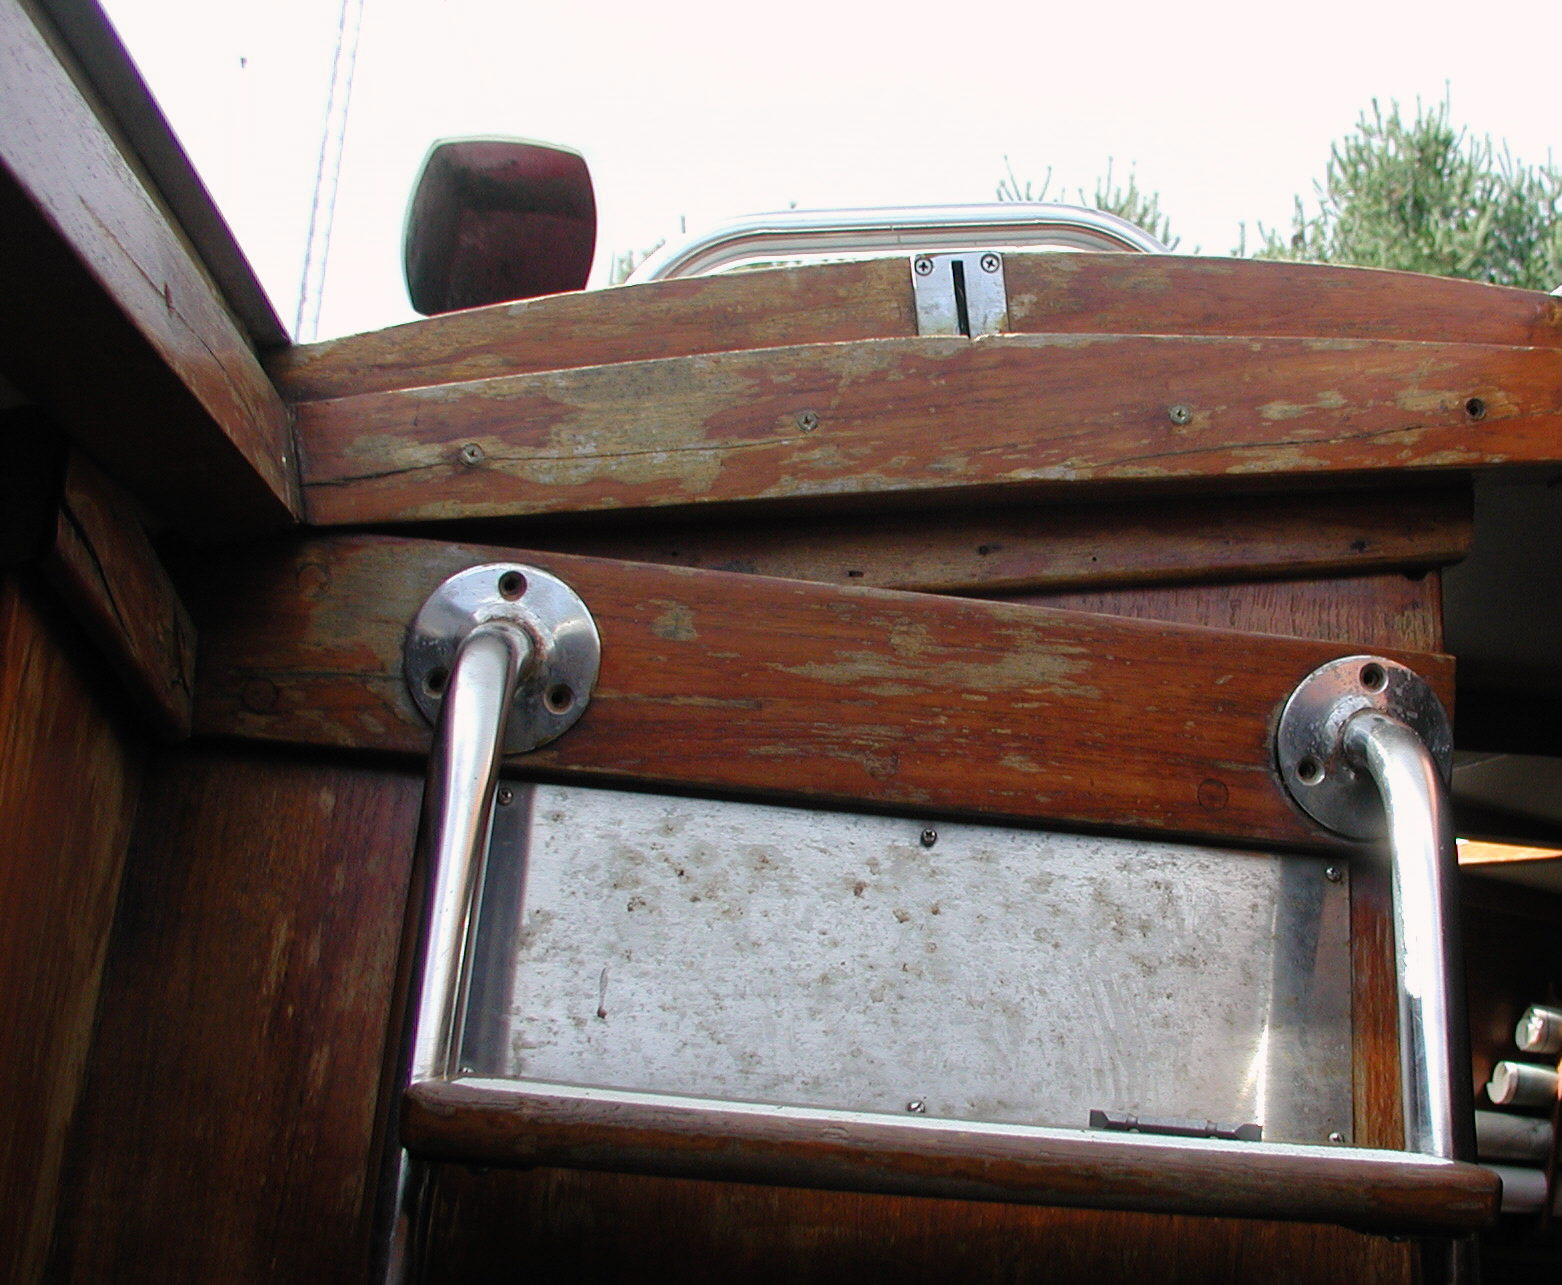
The photo to the left shows the deck and companionway before the project started. |
The photo to the right shows deck-rot exposed. |