|
|
Maincabin Companionway Restoration (cont) |
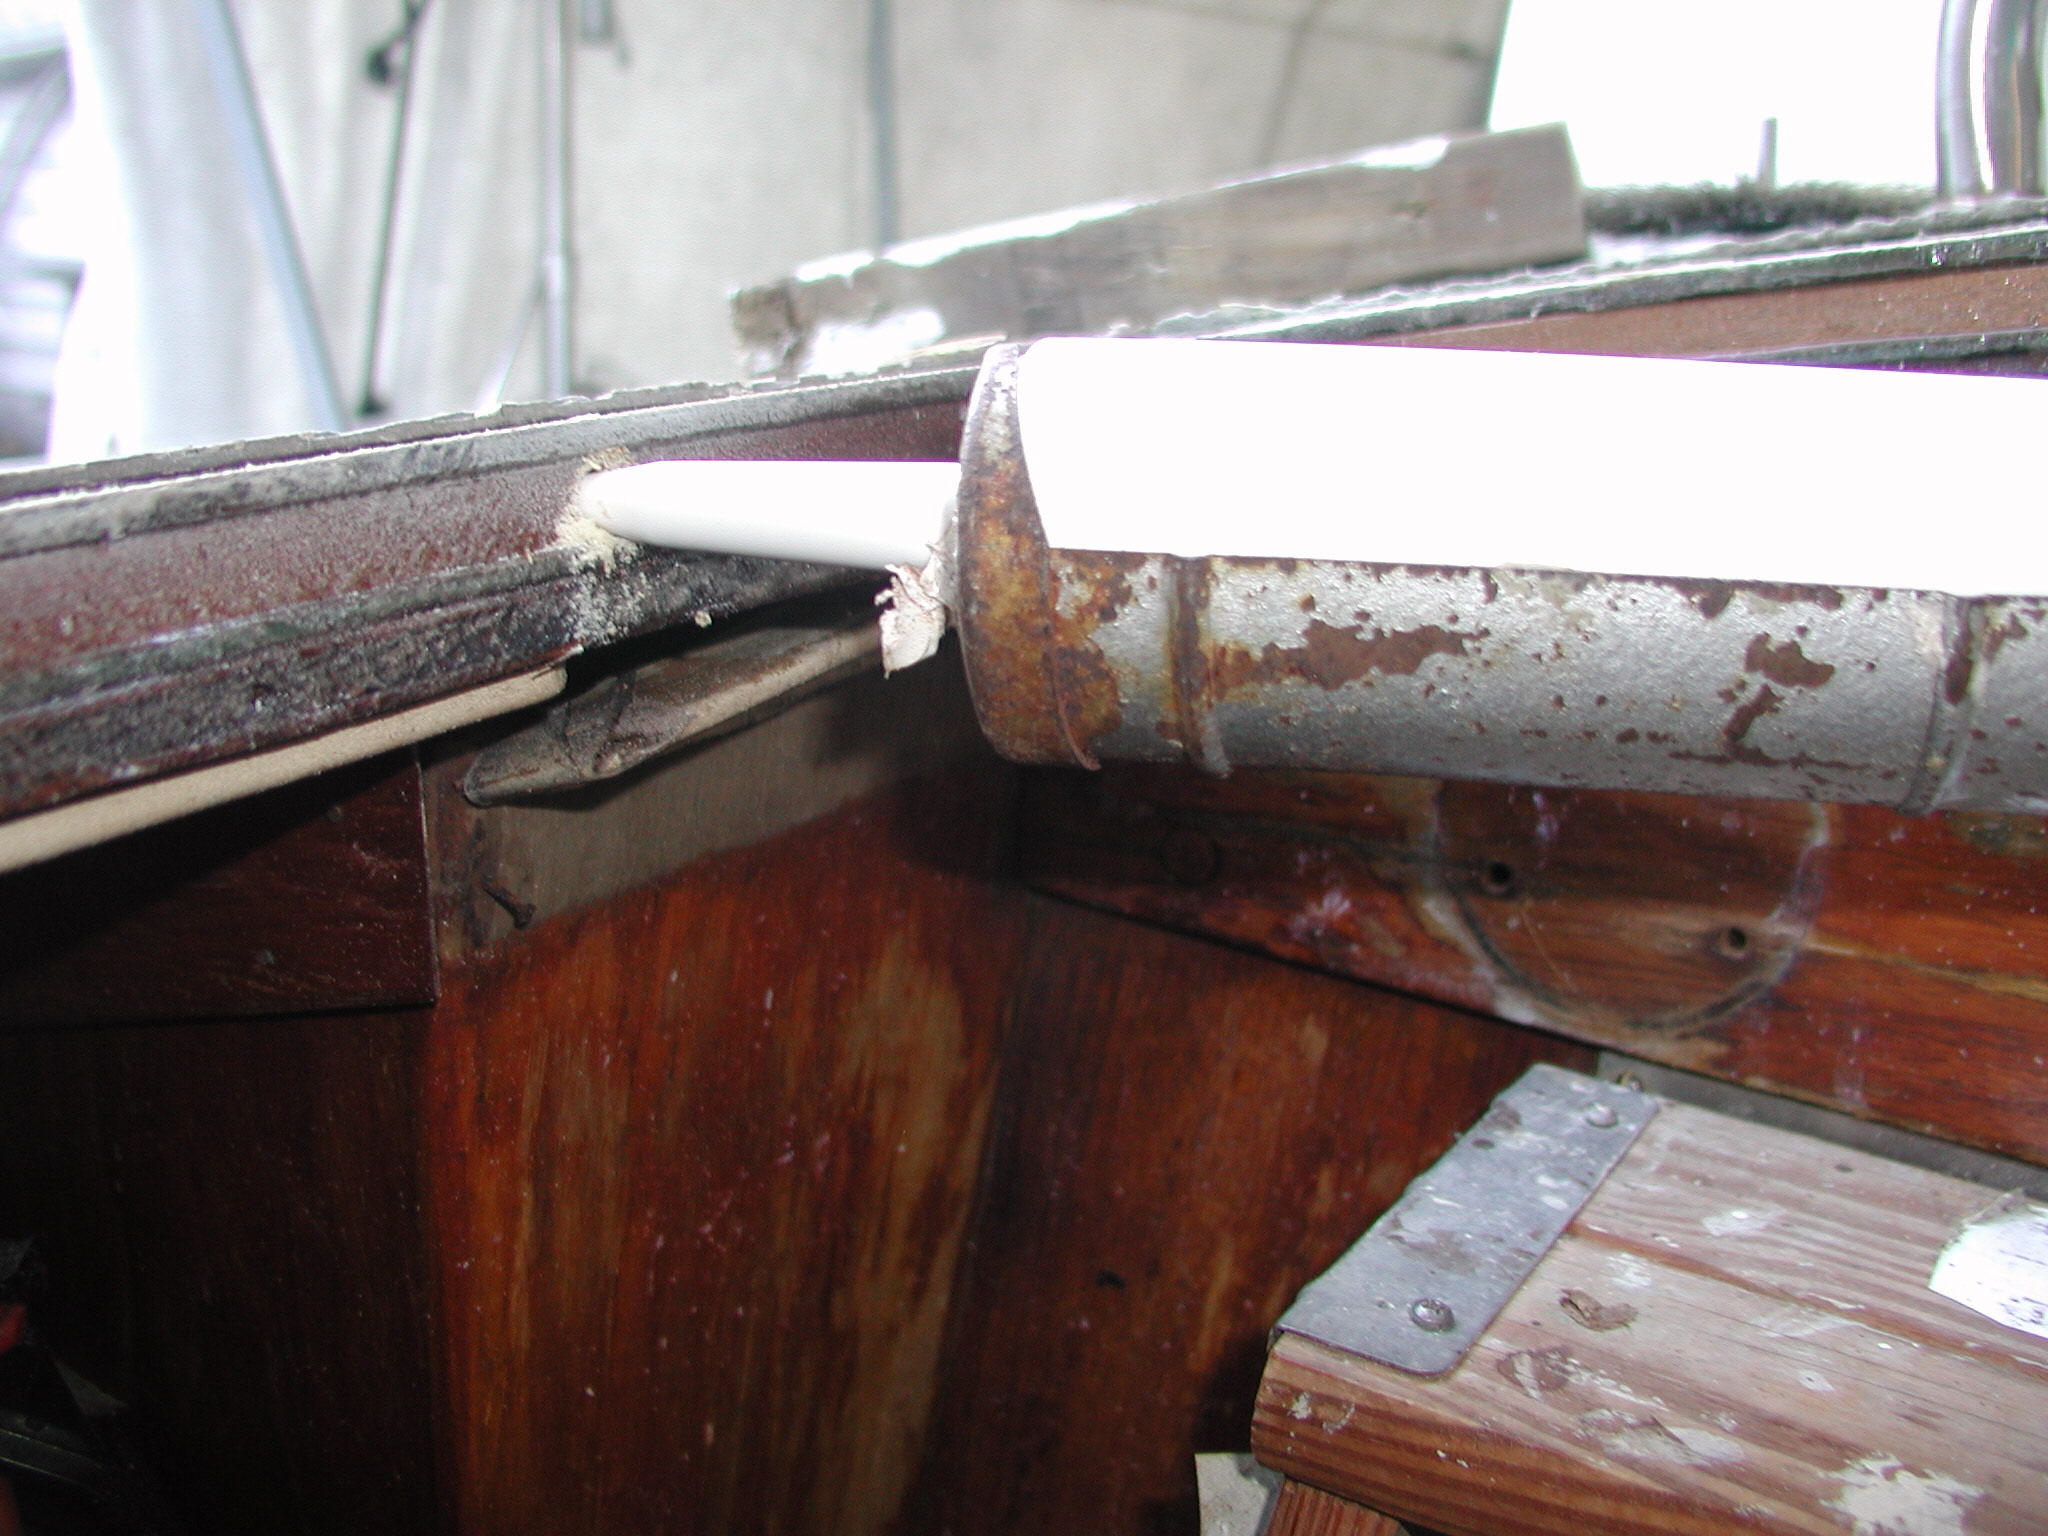
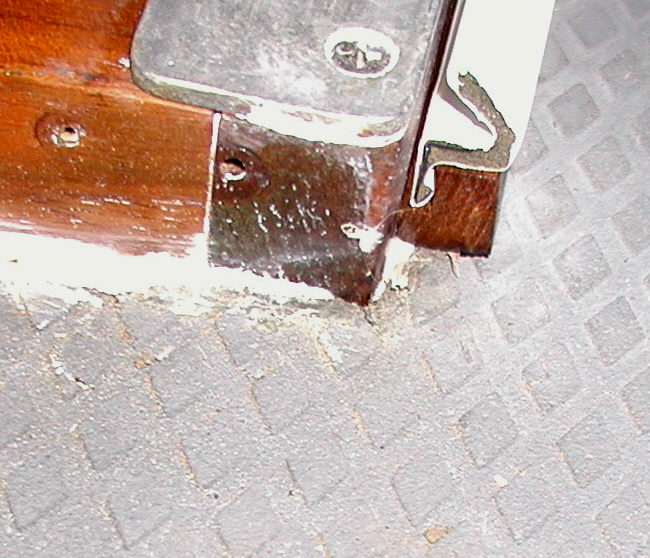
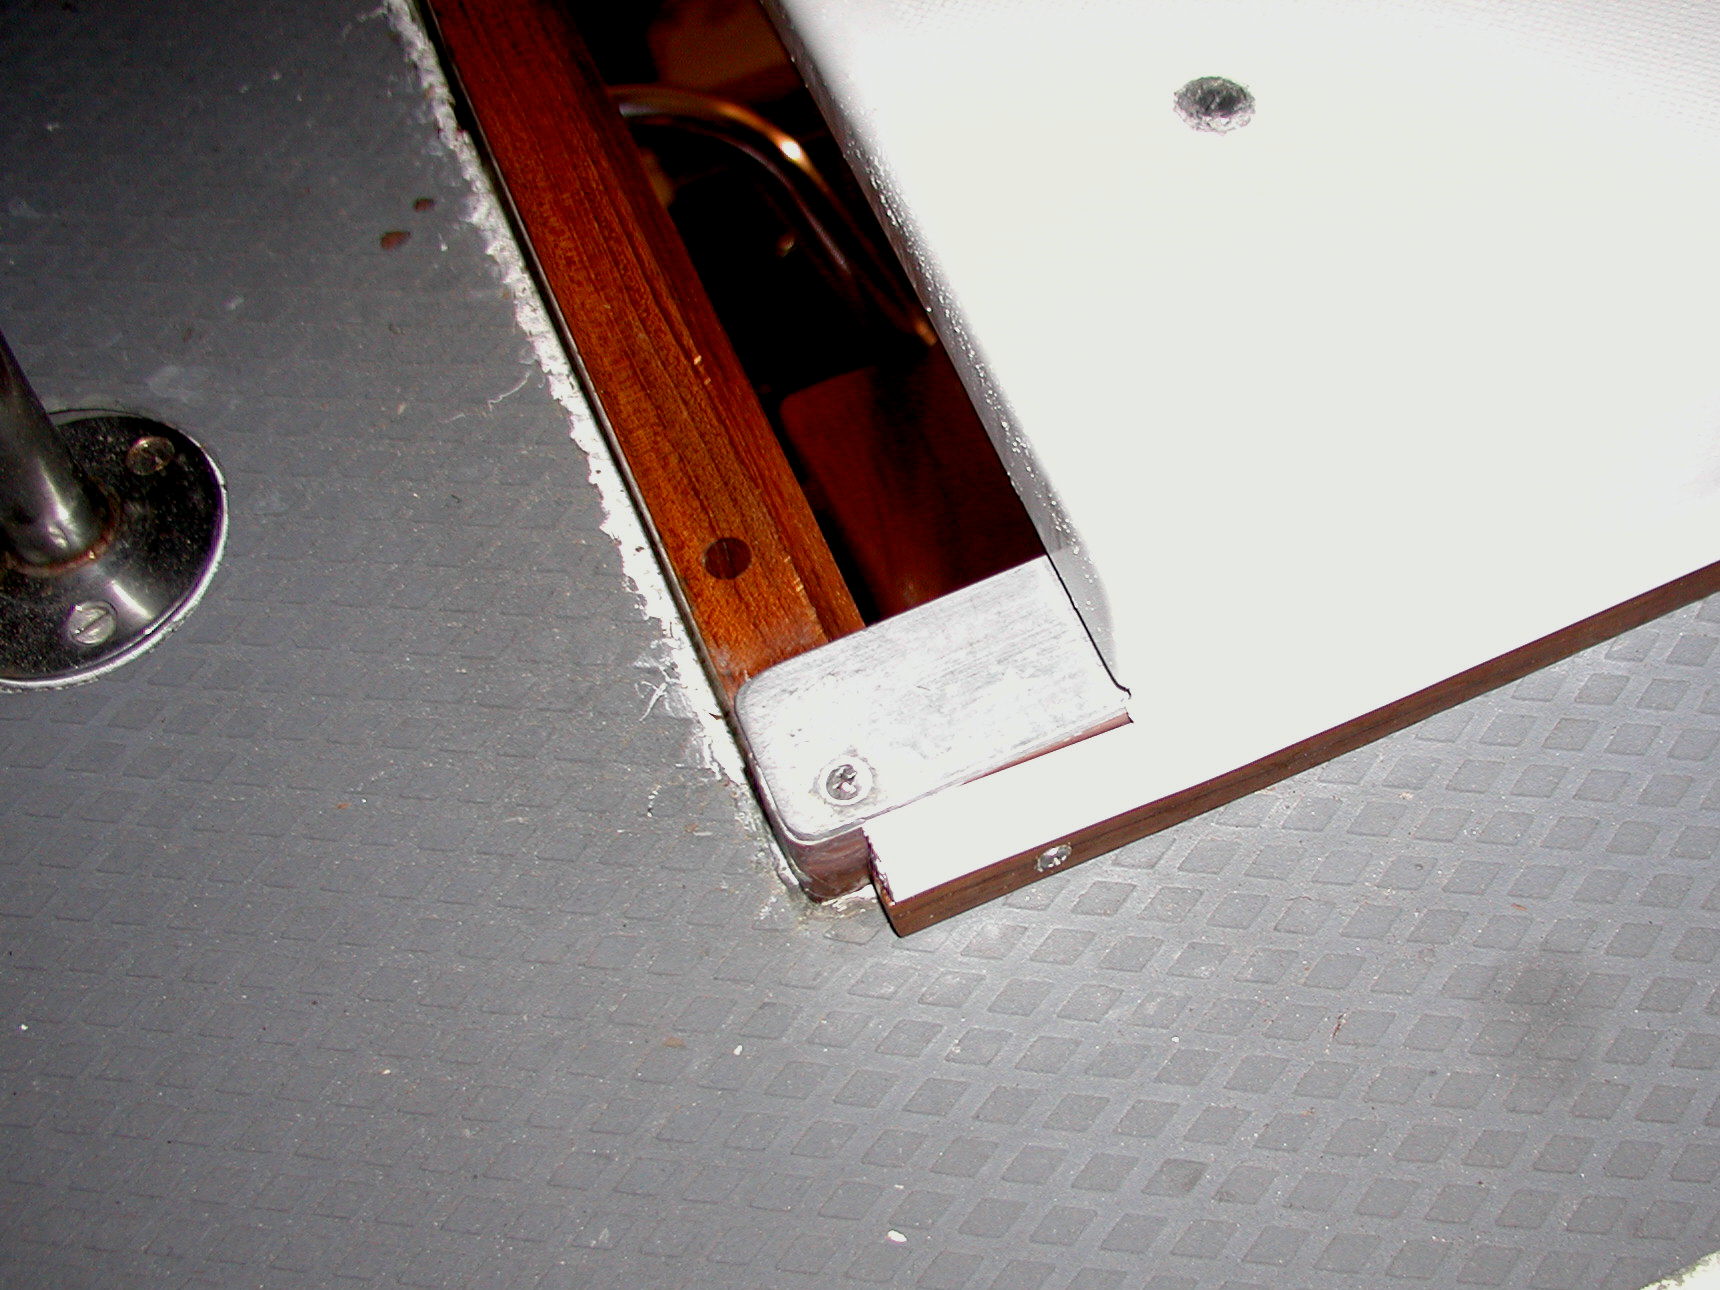
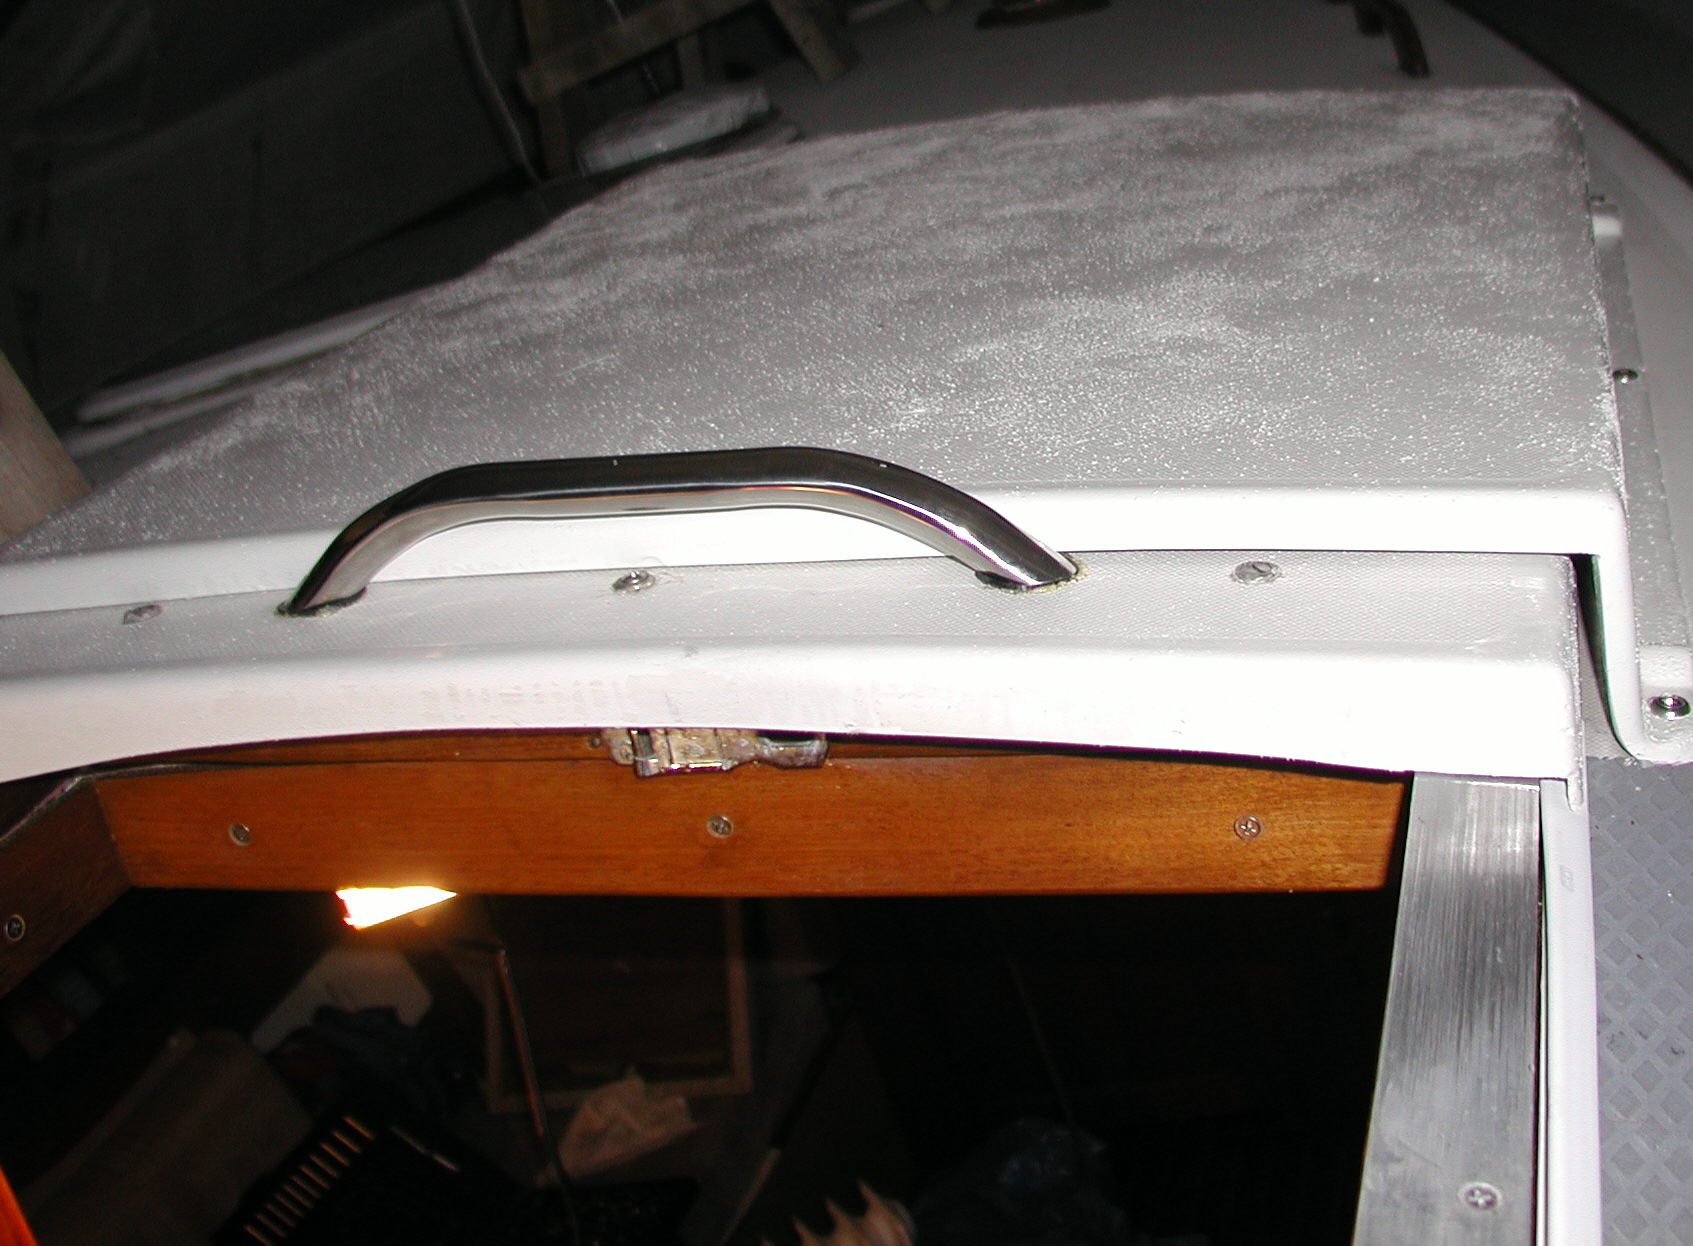
I drilled a hole in these strips and injected West epoxy mixed with filler using West empty caulking tubes. It took two tubes to fill the deck. The screw holes in the deck above allowed air to escape as the epoxy filled the voids. As epoxy began to run through these vent holes, I capped them with duck tape. As each void filled, I covered the injection hole with duck tape. I coated the entire deck cutout with epoxy. This should keep water from finding its way into the deck should the seam leak in the future. I also drilled out any suspect fastener holes in the deck and glued a wall anchor in each hole using the same epoxy. This should prevent water from getting into the deck through the screw holes. While the deck was drying out, I repaired and refinished the interior wood trim with a light coat of Cetol followed by several coats of Epiphanes gloss varnish. Cetol seals the wood and leaves it with a nice honey color. The varnish gives it a deep glossy finish. There were some cracks in the trim pieces that I repaired using resorcinol glue. Since there are a number of bungs in the exposed section of the frame, it was not possible to completely finish the trim before reassembly. I applied at least one coat of varnish to everything. This insured that any caulking compound wouldn't get into the wood grain during reassembly. I refinished the hatch frame, ladder steps, and aft-companionway hatch-boards at the same time. It took about 12 hours to clean, prep, and refinish these pieces. This was done in several coats over the course of a week. The finish leaves the steps slippery. I applied non-skid tape to the forward edge of each step. I added two teak trim pieces to the outside of the hatch frame. I used a door gasket that is commonly sold in hardware stores. The gasket comes with a wooden molding that was discarded. This should help keep water from splashing under the sides of the hatch. I previously used the same gasket material and had good success. It took about 4 hours to fabricate and install the gasket trim. I added a pull-handle to the sliding hatch to make it easier to open and close. The handle obstructed the middle screw hole in the hatch and made it impossible to use a standard screwdriver to tighten the screw. I had to re-drill the hole in the underside teak trim piece to 5/8 inch to allow me to get a socket on the nut. I used a screw-bit held in place with vice-grips to hold the screw head while tightening the nut. Fortunately, I had a 5/8" plug-cutter to make the oversized bung. I repainted the deck hatch and doghouse with West Marine Sea Gloss Pro Nonskid Paint. I mixed a quart of offwhite and a quart of white, since the unfinished gelcoat appeared to be somewhere between the two colors. Click on the photo below for a larger image. |
Left - West System Epoxy injected into the deck voids. Lower Left - Deck hatch replaced. Lower Center and Lower Right - Gasket prevents water from getting under the sliding hatch. |