|
|
Laying a new cabin sole (cont) |
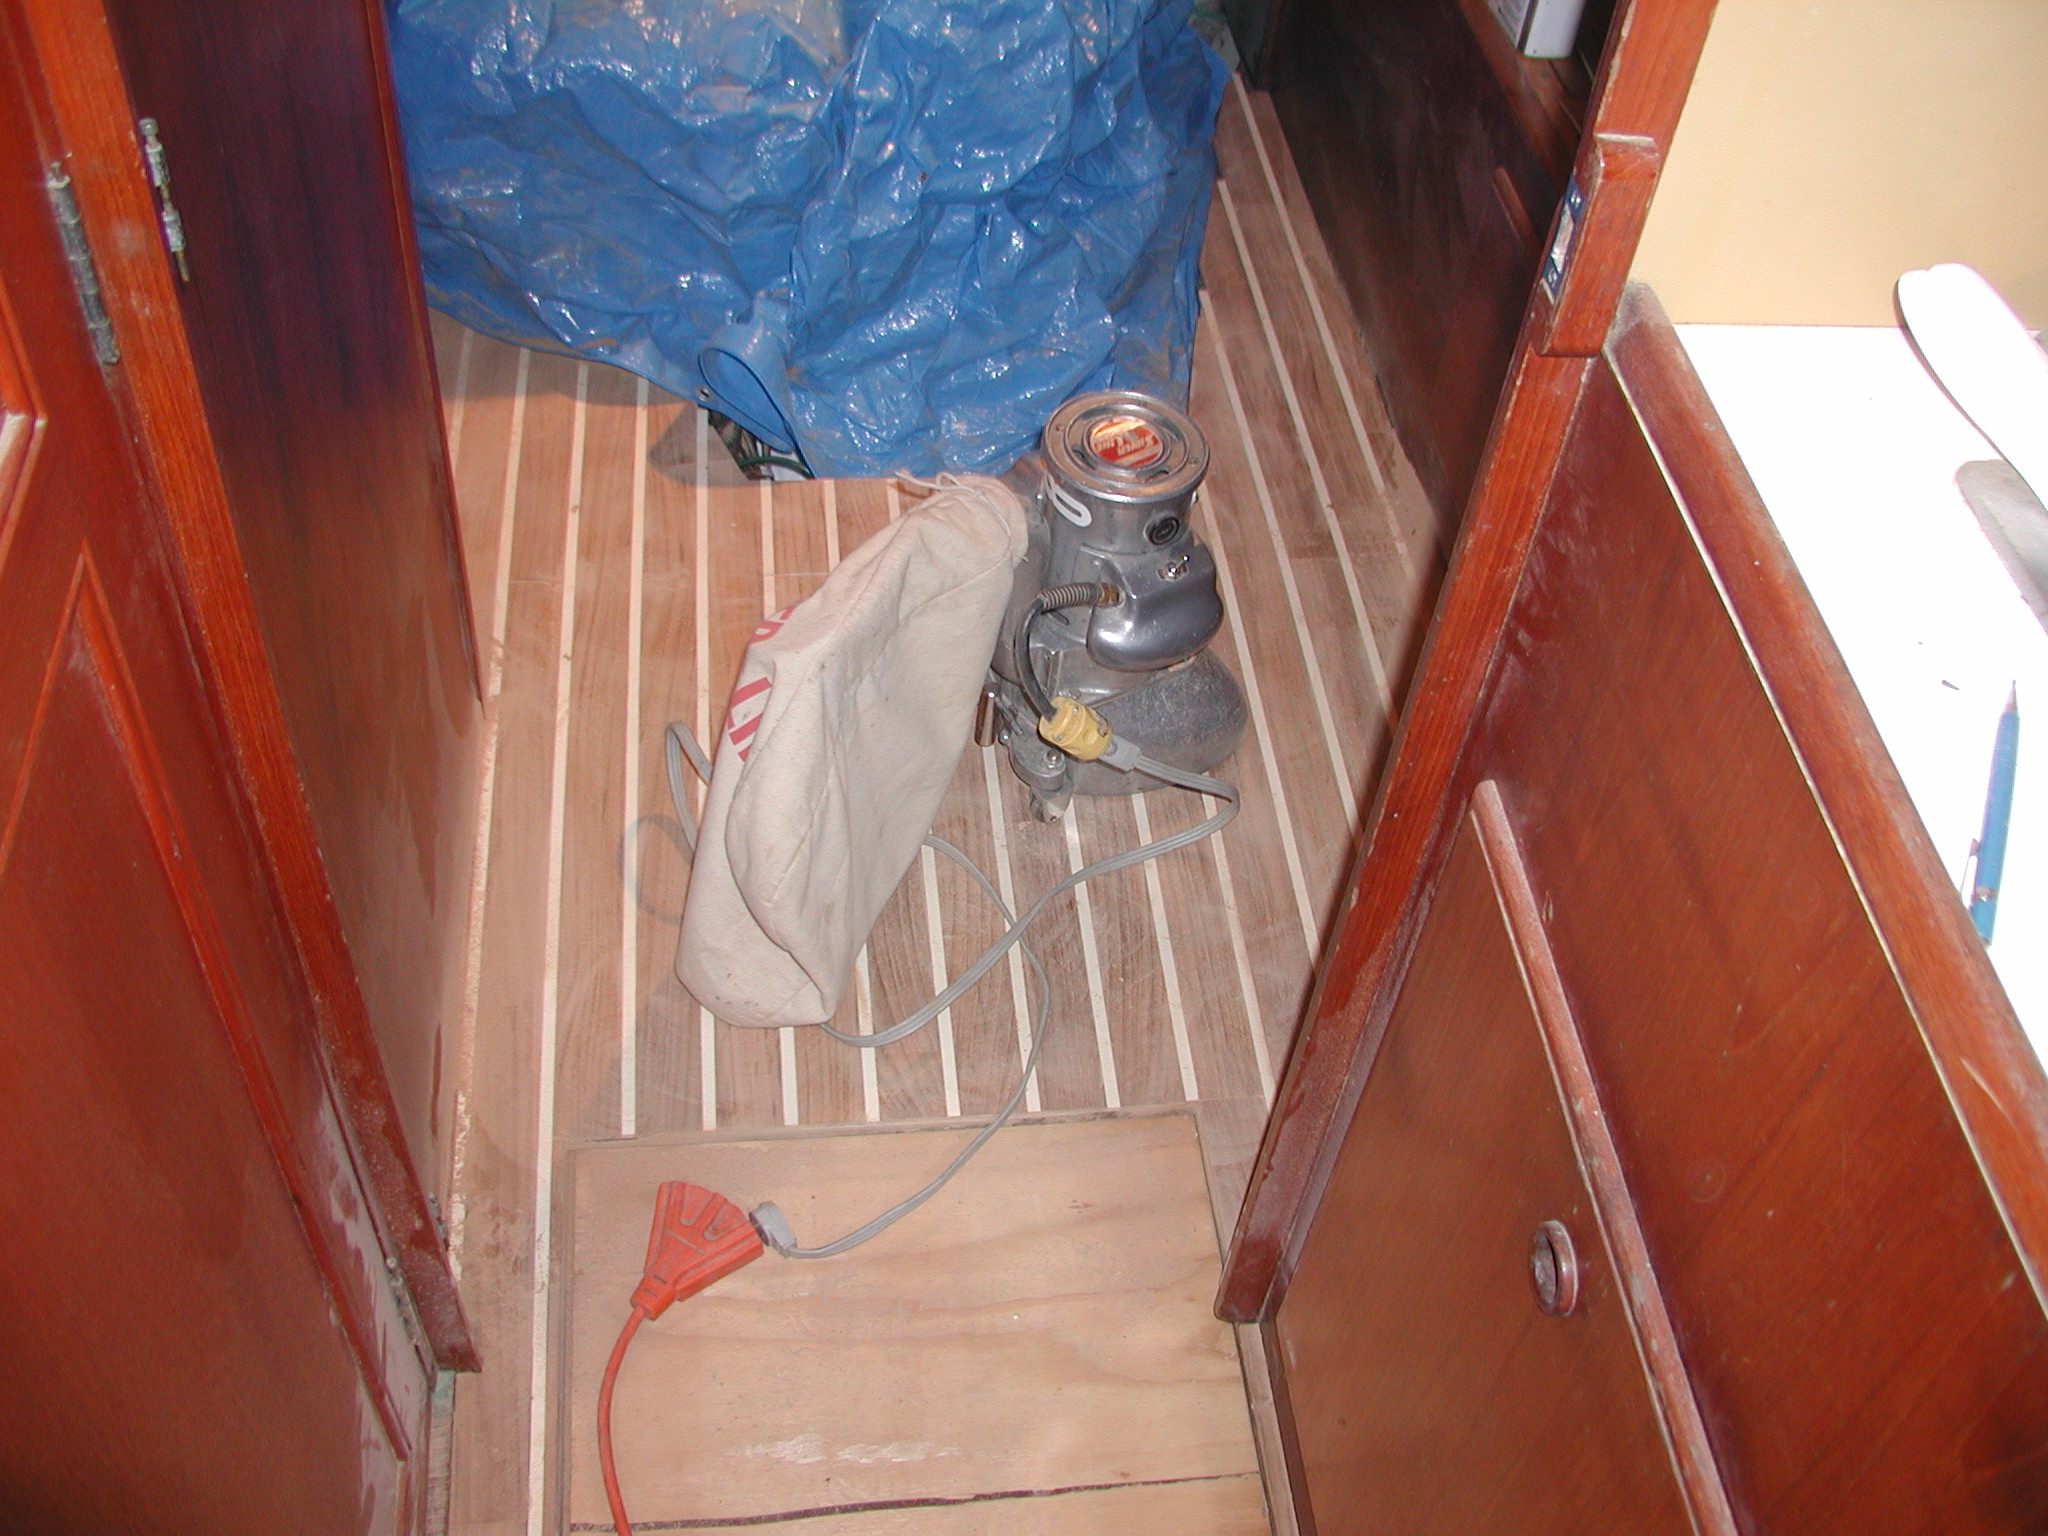
Next, I trimmed the two hatches and fit them into position in the cabin sole. I had previously removed the pull rings and ordered replacement pulls from West Marine. These also latch the hatch closed, a nice feature if you ever expect to take your boat offshore. Since the latches have not yet been received, I left a screw in position in each hatch so that they could be lifted after positioning them. I removed them when applying varnish and temporarily replaced them with plywood panels. Using an edger floor sander that I rented for the day, I smoothed the surface using a 60 grit paper. Even though I tried to make each floor piece precisely the same thickness, they didn't lay evenly. The surface was uneven and the face of each board had scroll marks from the table-saw. The floor sander was well, too well in fact. I found that the fine-grade sandpaper was more than enough to smooth the rough surface. It was worth the $30 rental fee. It had a bagging attachment that captured about 90% of the sawdust. I followed with a large random-orbit sander with 120 grit paper. Click on the photo below for a larger image. |
The photo to the left shows the floor sander that I rented for the job. |