|
|
Engine Removal |
Before removing the old engine, I took some measurements and photos that showed the position of the engine brake disk relative to the engine pan. If I mount the new engine so that the brake is in precisely the same position as before, alignment of the v-drive input shaft would be correct. Since I was planning to purchase a new drive shaft, I would have the option of moving the engine back a few inches if needed as long as I didn't obstruct the exhaust system. Removing the old engine sounds like a big task, but it really isn't bad. Disconnecting everything is pretty straightforward. It took about three hours. About 1 hour of that time was spent with a spray can of PB Blaster and a breaker bar with 15/16" socket to disconnect the engine mounts. Had I planned better, I would have sprayed the nuts the day before and let the oil do its magic. They didn't look bad, so I just assumed they would come out without a fuss. I'm lucky enough to have access to a small crane at my yacht club that was used to hoist the engine. I removed the alternator and two engine mounts from the engine. I had one other person help jockey the engine through the hatch. It was a tight fit. It took an hour to remove the engine. It took an additional hour to put the tools away and close up the engine box. After cleaning up most of the goop accumulated over the past few years, I had a chance to inspect the engine bed. The first thing I noticed is that there appears to have been a different engine bed that was removed long ago, probably when the boat was built. The other bed was about a foot forward. I have hull #47, so I don't know if they changed the engine bed with my hull, or if they changed something during construction; perhaps my hull started life as a 422. The fasteners for the engine mounts can be accessed from underneath. A small section of the starboard engine bed had been cut away at some point to allow access with a wrench. I pulled the engine many years ago. I didn't replace the mounts at that point in time. Both sided of the mounting bed show signs of crazing where a bend is made from the inside to the top face. Each side sags outward about 1/4". The top of the engine bed looks like it should sit on some fiberglass stringers on each side of the pan. There was a small space between the pan and the top of the stringers though. I'm not sure why they sagged. Perhaps they needed to be shimmed tight to the top of the stringers. I won't really know what I have until I remove various hoses and cables that obscure the outside of the pan. As mentioned earlier, I'll probably bolt steel angle iron on top of the old pan, but that is still to be worked out. I put the old engine and considerable set spare parts up for sale. This offset the cost of the repower effort by about $1000. Most individual parts such as the water pumps, starter, and manifold would cost more than half this. |
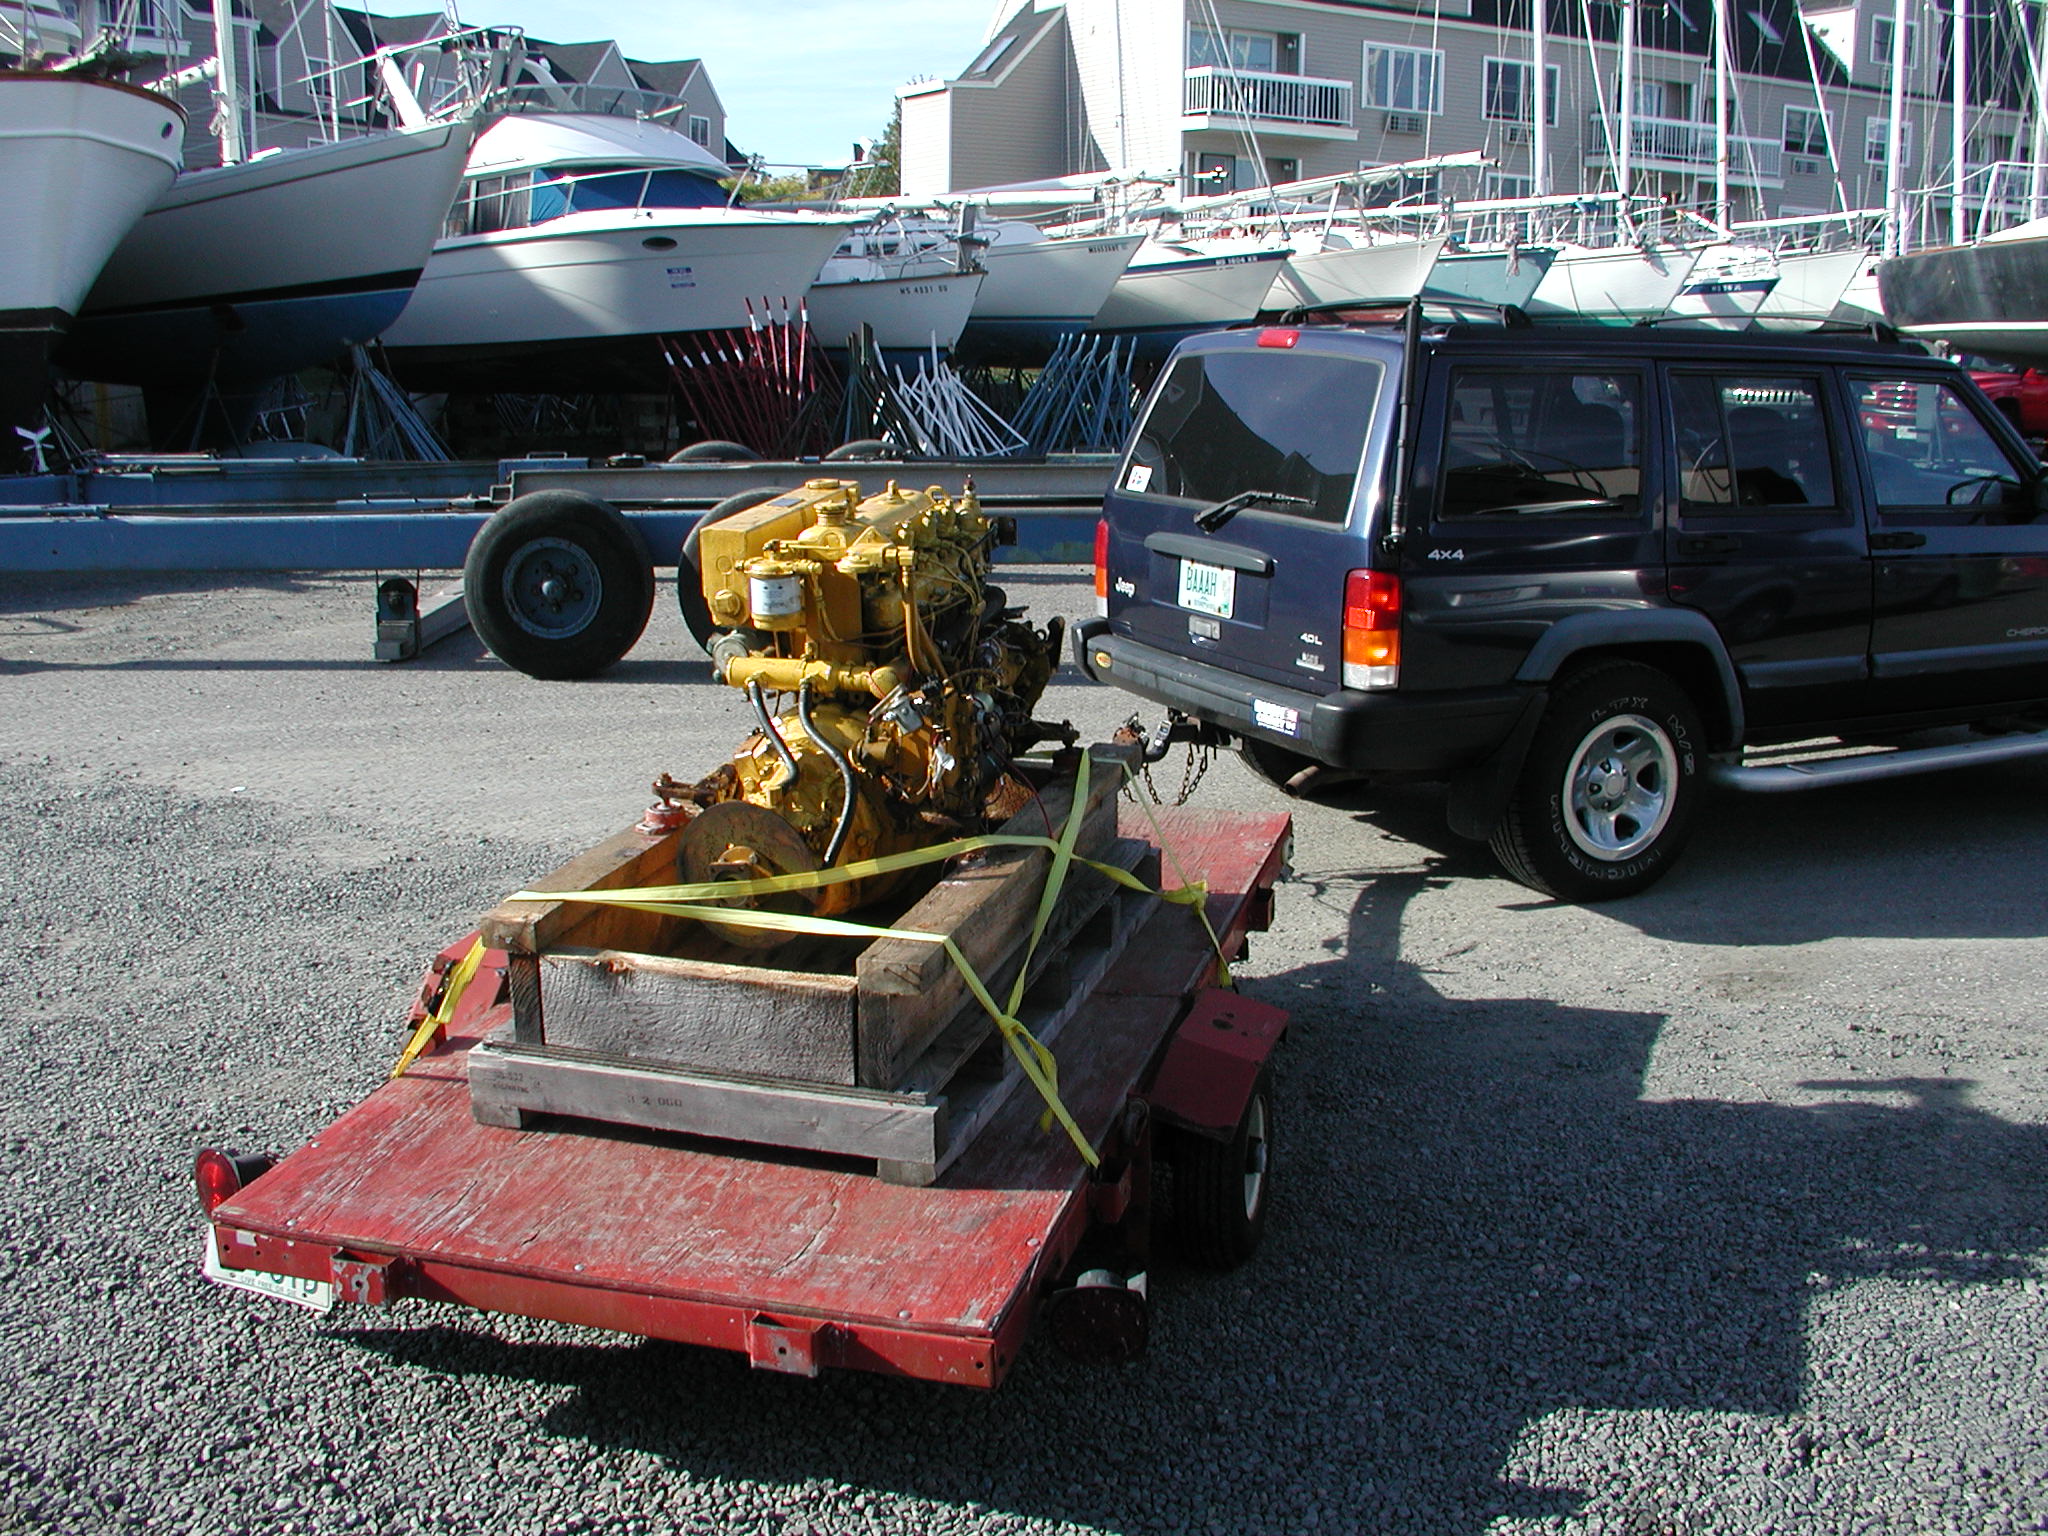
The photo to the right shows the old W60 engine on my trailer. (click on photo to enlarge) |