|
|

Fuel Tank |
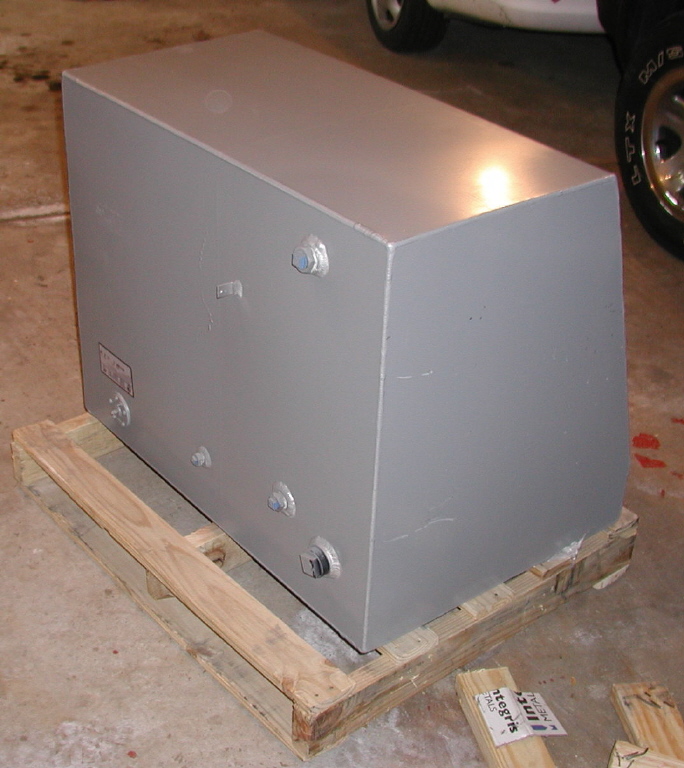
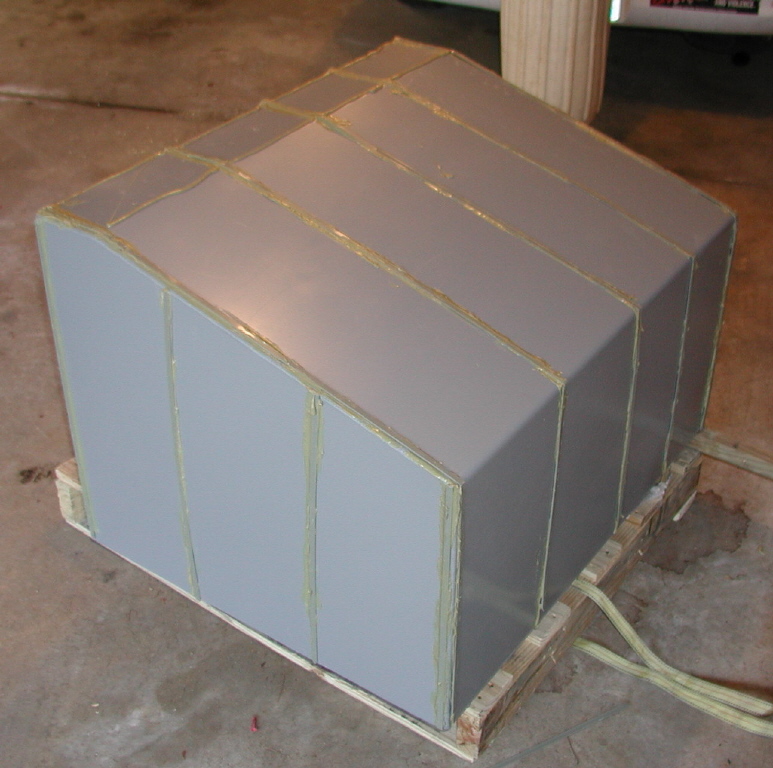
As noted earlier, a leaky fuel tank is what really pushed me into a repower job. My tank had just started leaking. The smell of diesel fumes is noxious. More importantly, having fuel leak into the bilge is a liability. So far, I was able to keep up with the leak by using fuel absorbing mats. The tank had to be replaced before the leak got worse. In order to remove the fuel tank, the engine must first be removed. Since the engine had to be pulled, now was the time to repower. Pulling the tank took about 5 hours. I tore the front of the cradle off, then disconnected the hoses and fittings. I tried to slide the tank forward, but it wouldn't clear the mizzen support beam that runs under the cockpit. I had to tear the bottom off the cradle to gain enough room to slide the tank off. The beam was too low by the height of the pipe fittings. The cradle bottom is a single board about 1 inch thick, 12 inches deep, and the width of the cradle. The whole thing is held together with bronze slotted screws, none of which came out without a crowbar. The hatch was just wide enough to get the tank out. Close inspection revealed a small pinhole in the bottom of the tank; no-doubt where it was in contact with a bronze staple. The rest of the tank shows aging, but still looks OK. The inside is covered with what looks like coffee grounds. This is probably residue left over from algae that at one time contaminated the tank. After getting quotes from a couple of local fabricators for a replacement, I ordered a new tank from Florida Marine Tanks (303-620-9030), the original fabricator. They know exactly what to build and include fittings and a fuel sender as part of the assembly. I figured that this was a lower risk and it ended up costing a little less. I ordered the replacement with a slightly smaller 23" height rather than the stock 24" height. This reduced capacity to 76 gallons, but made replacement much easier. They now paint their tanks with a primer. This should extend the life of the tank. After receiving the tank, I cut and glued strips of plastic to the bottom and sides of the tank. This keeps the tank out of contact with the wood cradle and insulates it from contact with any protruding fasteners. The strips were made from giant tie-wraps purchased at Home-Depot. To glue the strips to the tank, I used one tube of PL-400 Heavy Duty Construction Adhesive purchased at the same store. Any good quality waterproof adhesive rated for both wood and metal would likely work. Installation was easier than I expected. The replacement was slightly larger in dimension than the original, but it fit perfectly. It took about three hours to replace the tank, most of that time was spent repairing damage I did with a crowbar. |
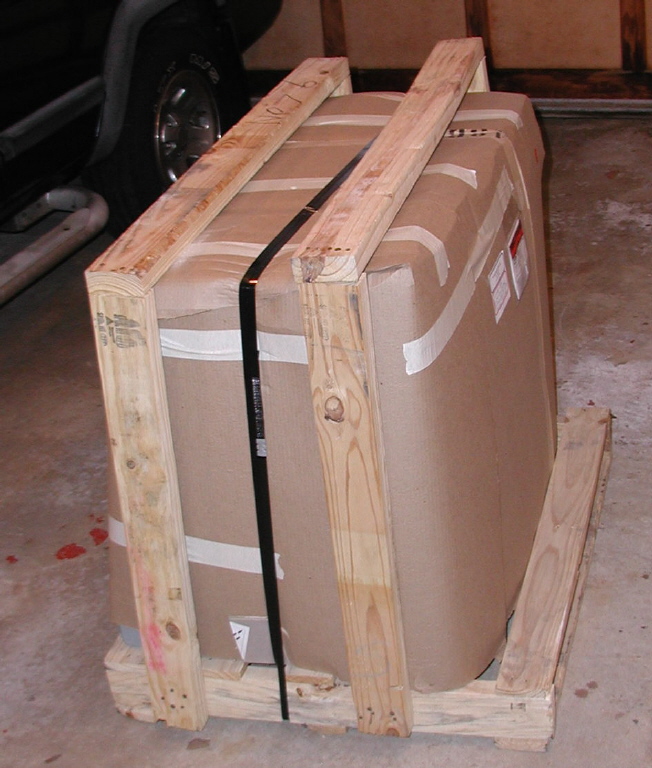
Fuel tank as delivered |
Fuel tank laying on its front surface. |
Fuel tank upside down showing plastic strips. |
Click on photos to enlarge |